
Cab-to-camper Pass-through: Design And Construction
Cab-to-Camper Pass-Through: Design Rationale and Construction
For our expedition truck build, a cab-to-camper pass-through was not a luxury feature—it was a hard requirement. Coming from a van platform, we had firsthand experience with the safety, comfort, and efficiency gained by being able to move seamlessly between the driving and living spaces without exiting the vehicle.
From a safety standpoint, the ability to transition from the cab to the camper without stepping outside adds a meaningful layer of security, particularly in poor weather, remote locations, or urban environments where situational awareness matters. From a comfort and usability perspective, it fundamentally changes how the vehicle is used. Being able to go from sleeping to driving in seconds, grab food or use the bathroom during travel stops, or pull into camp during a downpour without getting soaked all contribute to a far more livable vehicle for long-term travel.
Cab Configuration and Pass-Through Size
Cab-over-engine truck designs inherently limit rear cab wall space, especially in standard or regular cab configurations. In most cases, factory or aftermarket cab-to-camper pass-throughs are limited to small crawl-through openings—often around 18 in x 24 in, if space allows at all.
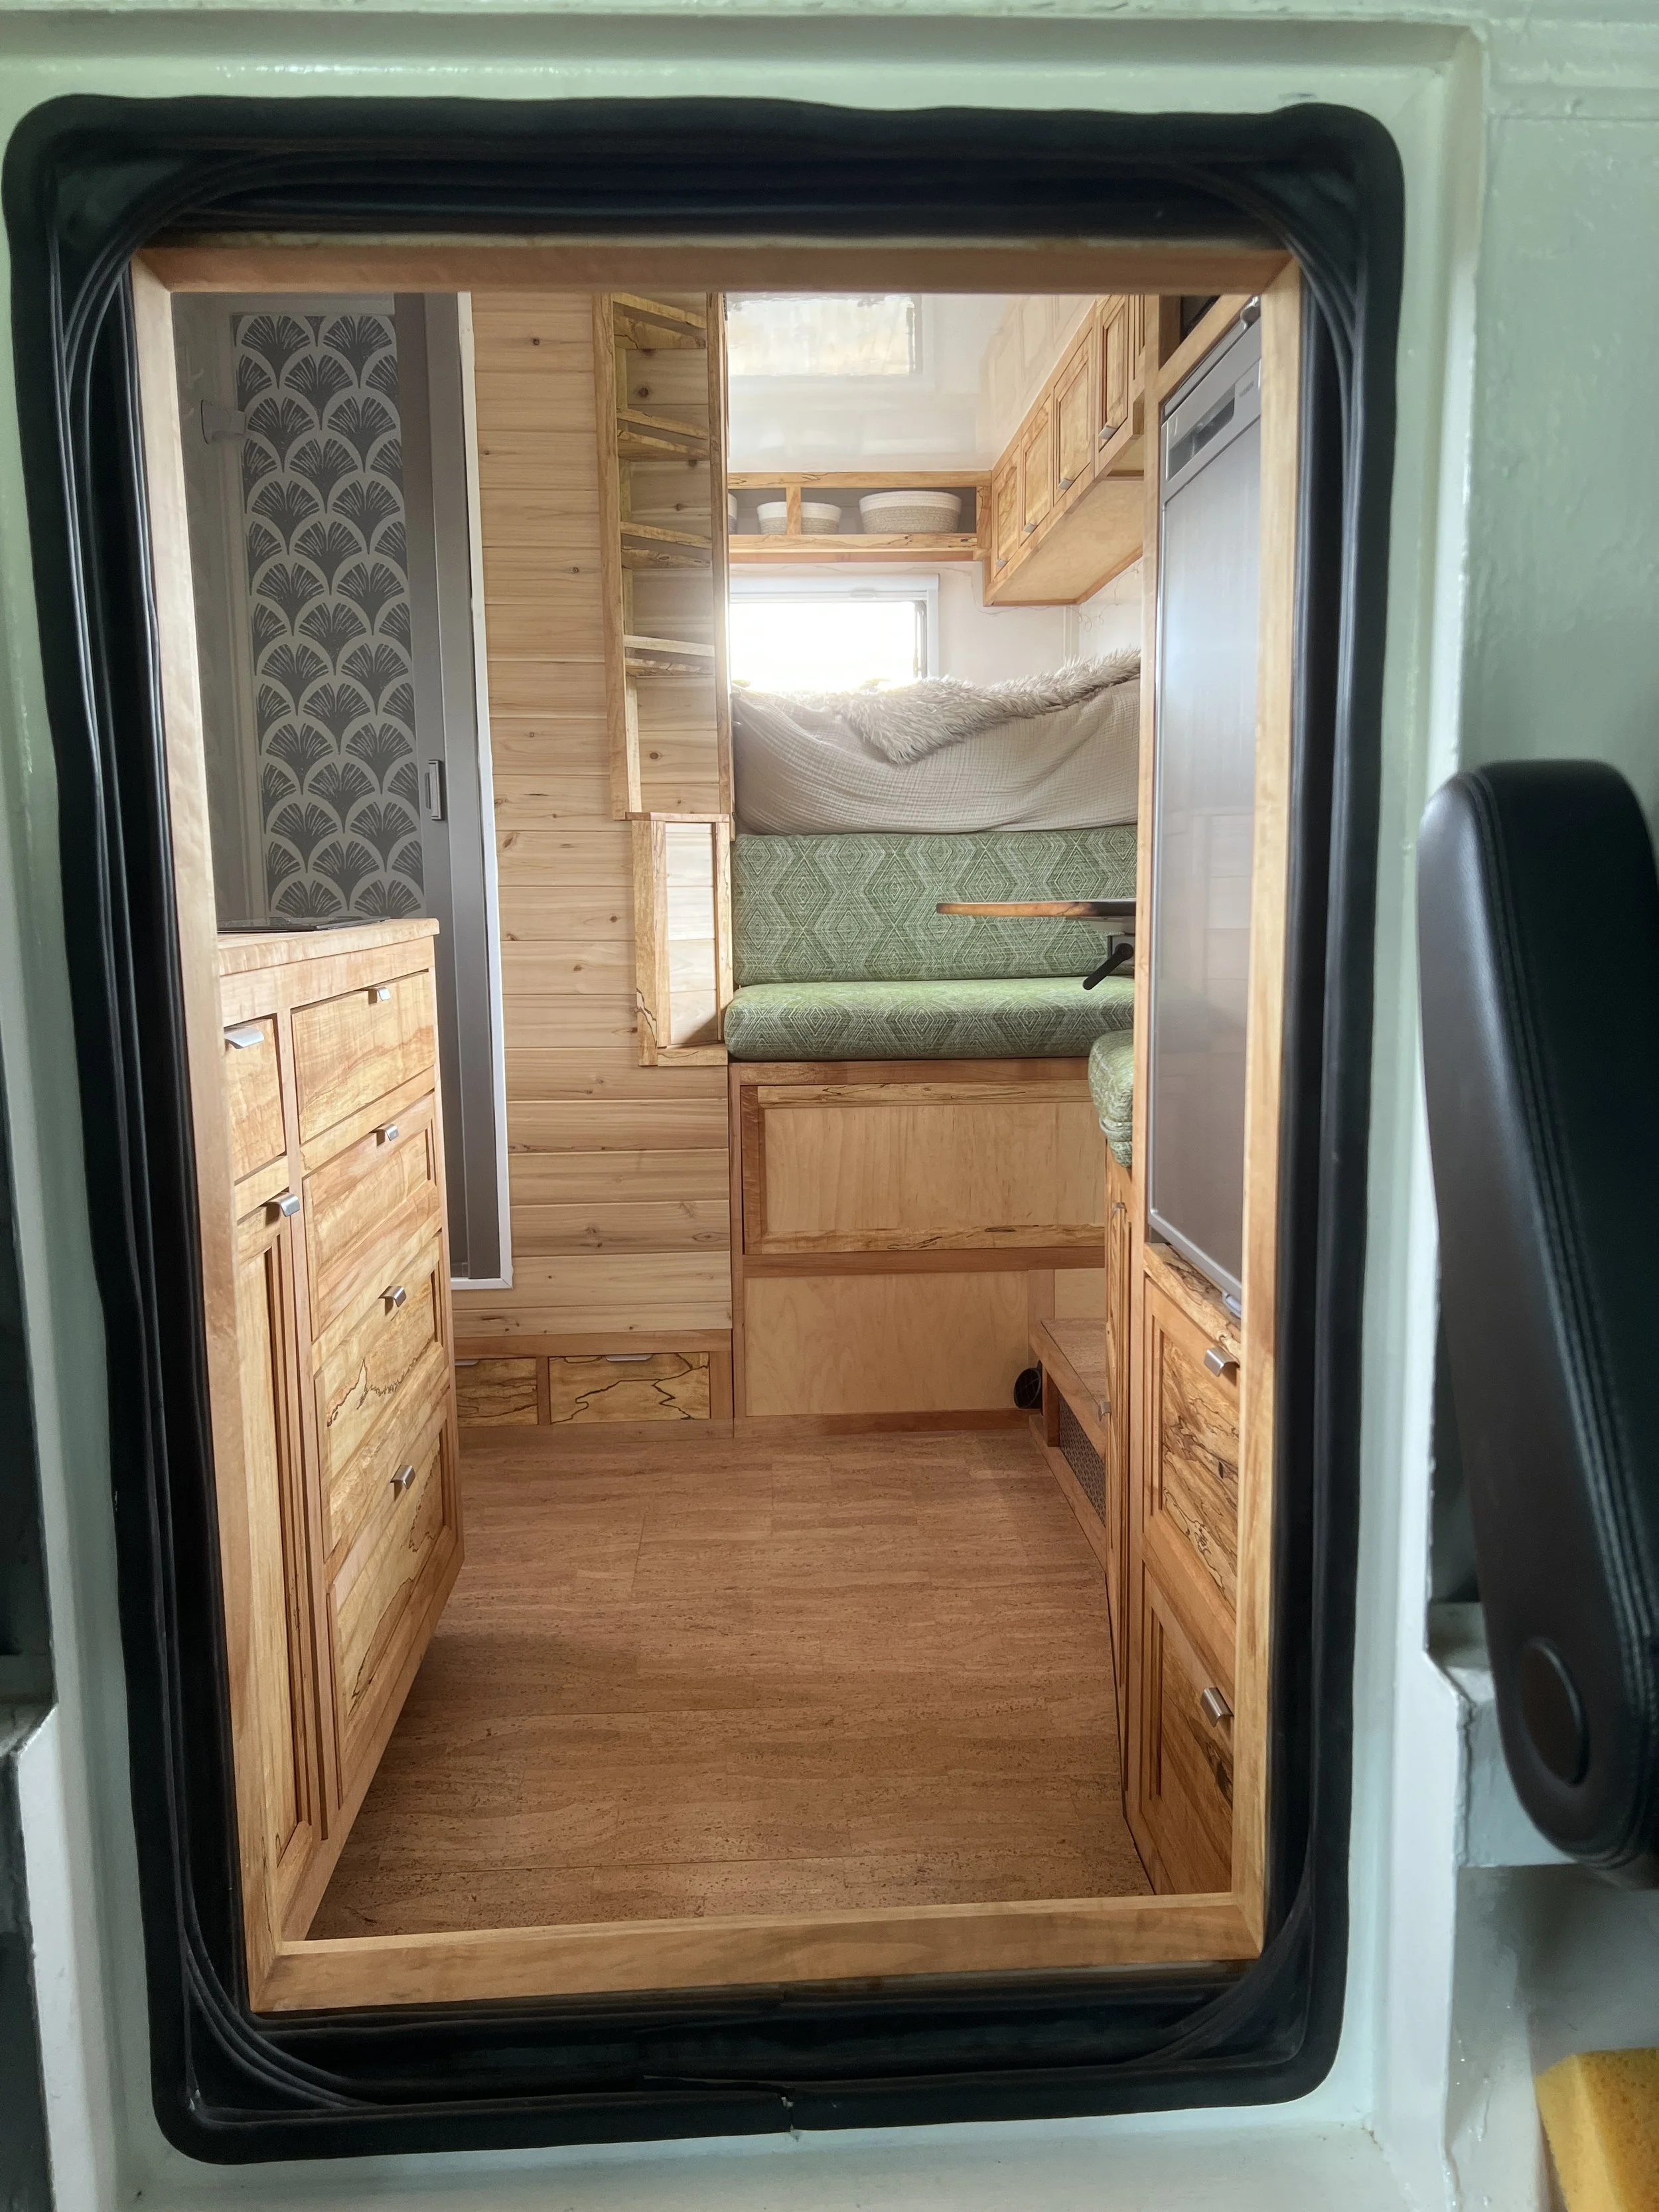
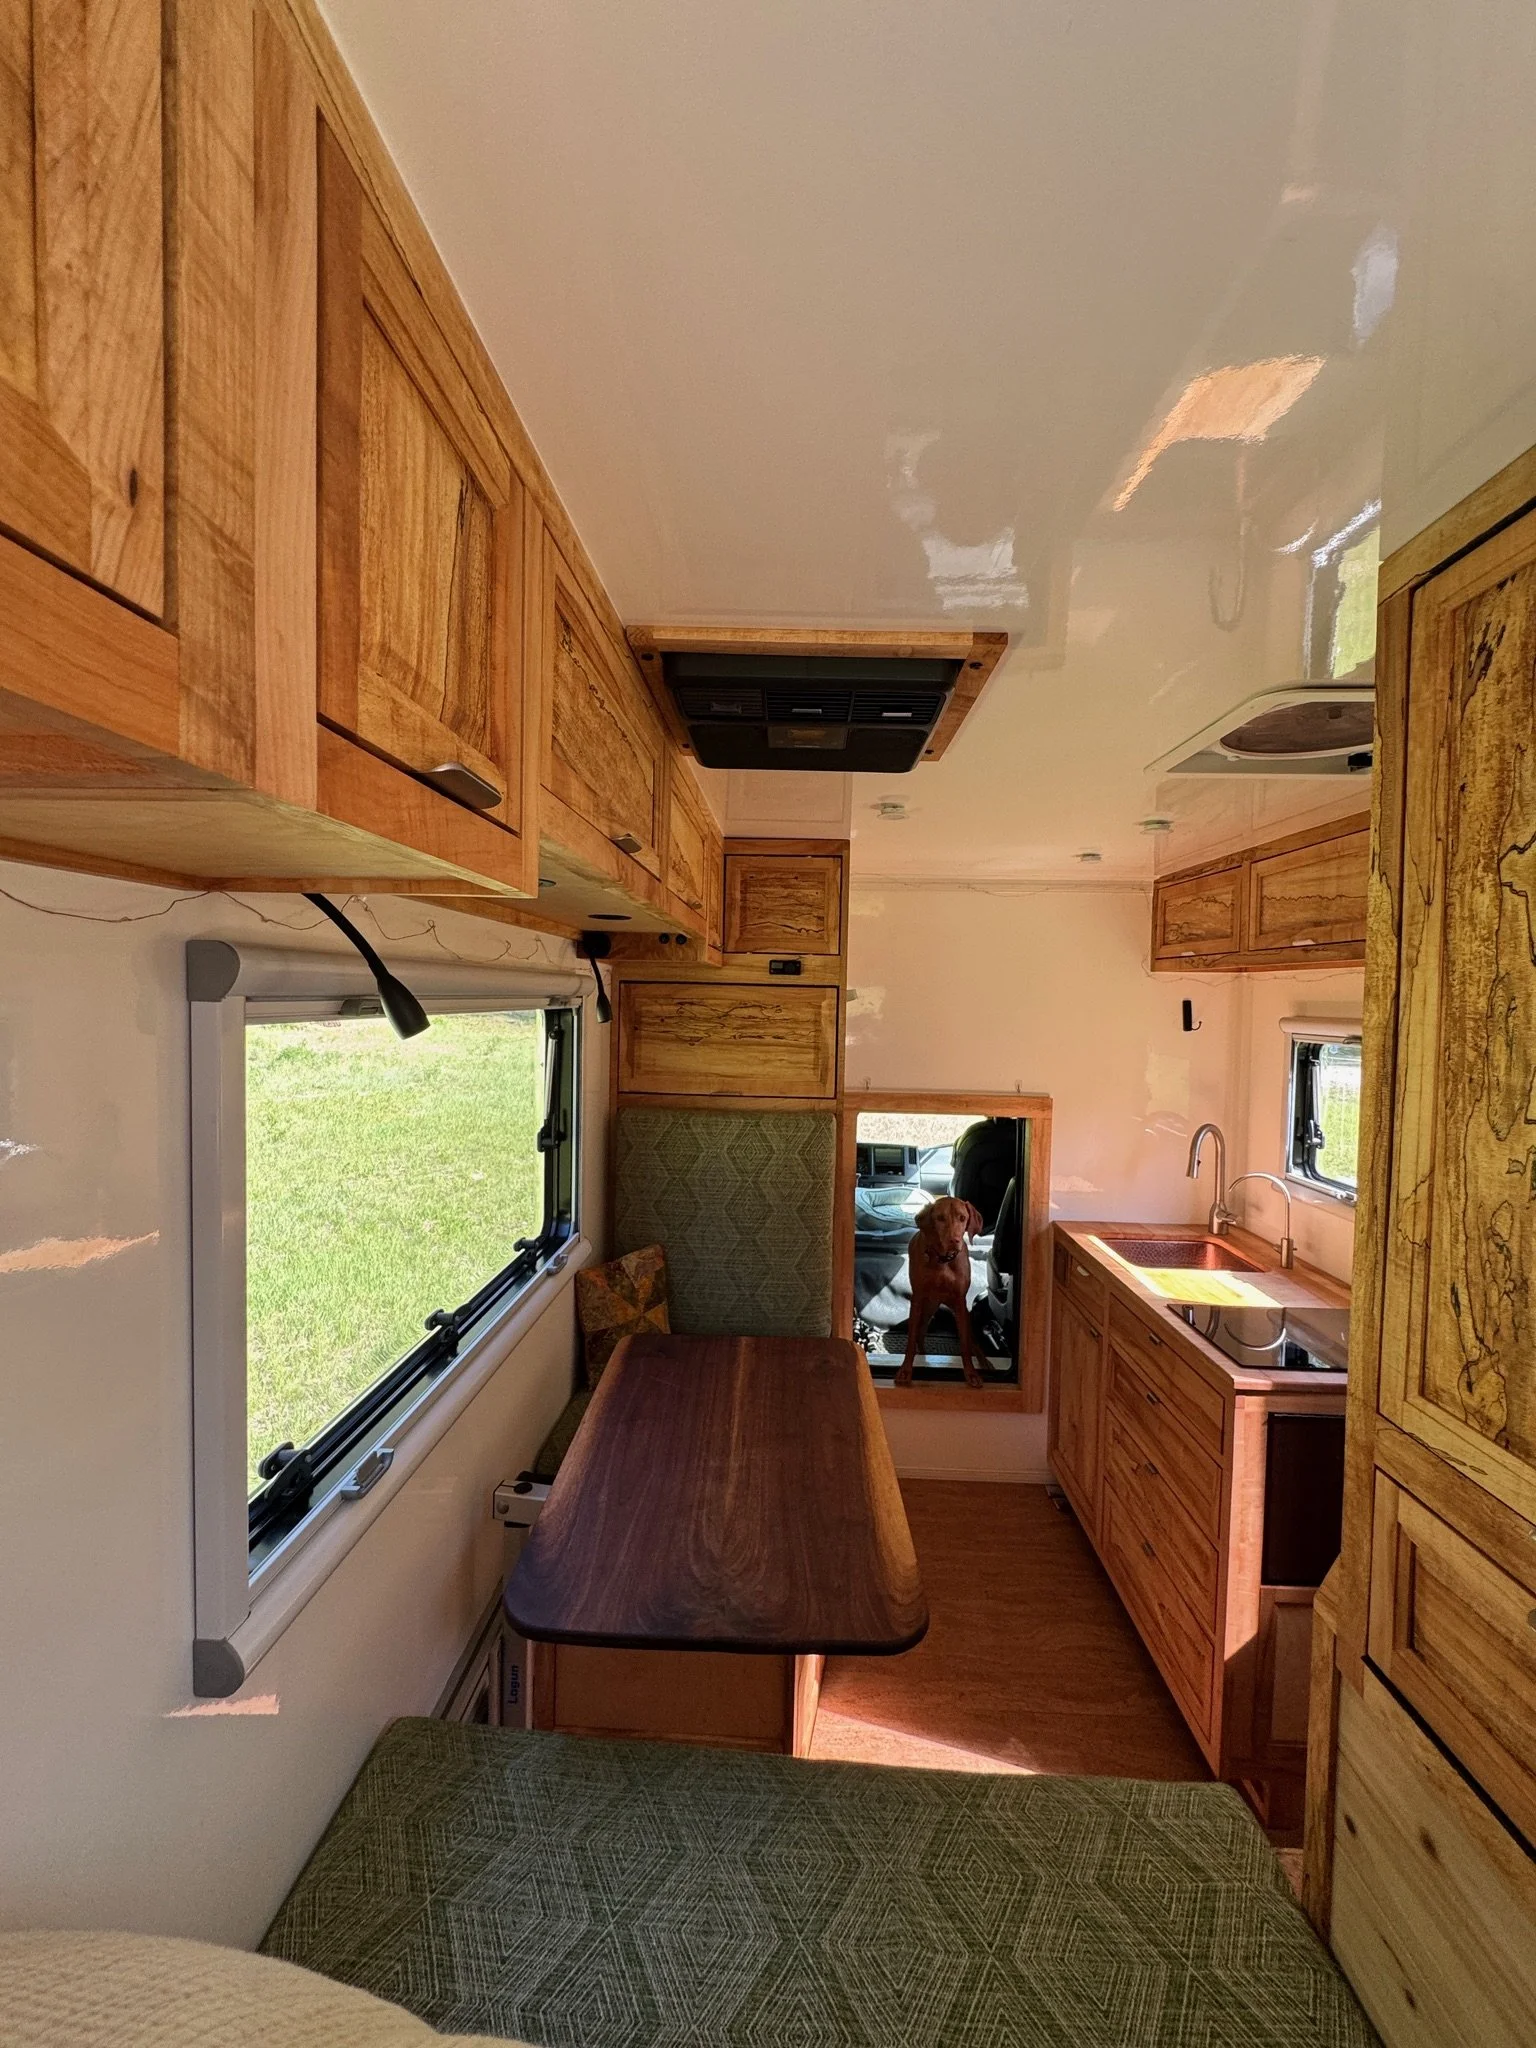
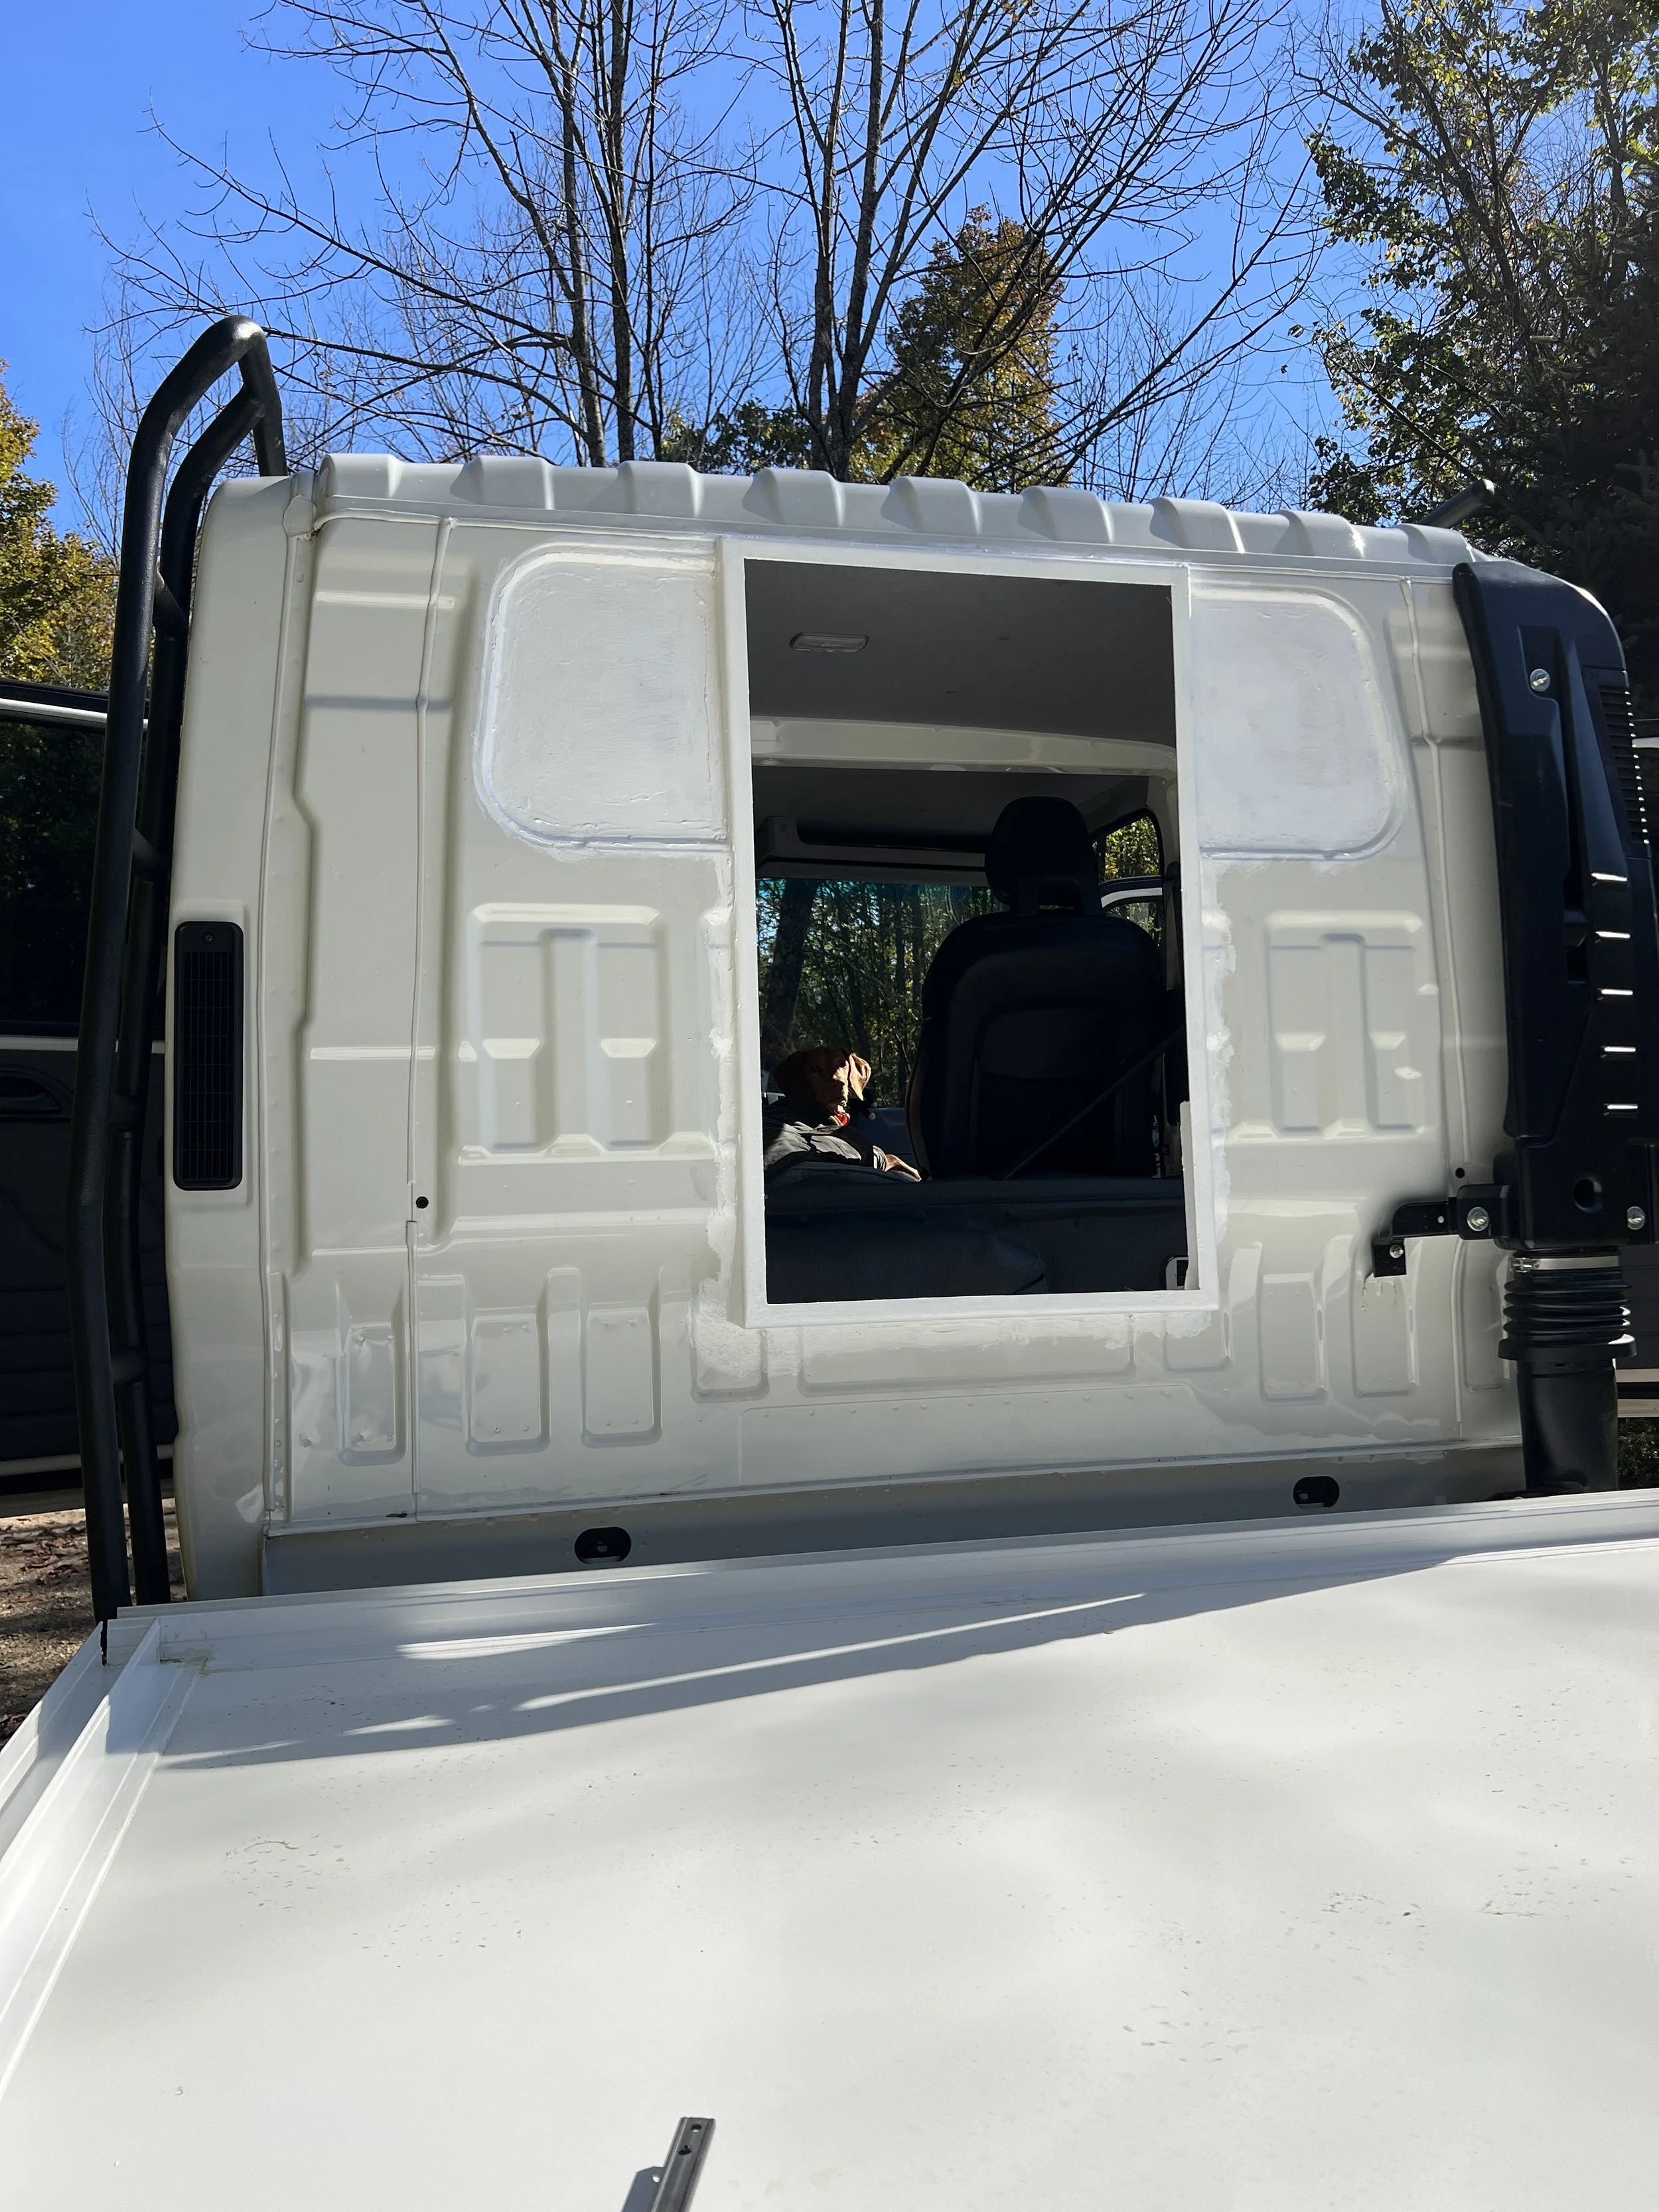
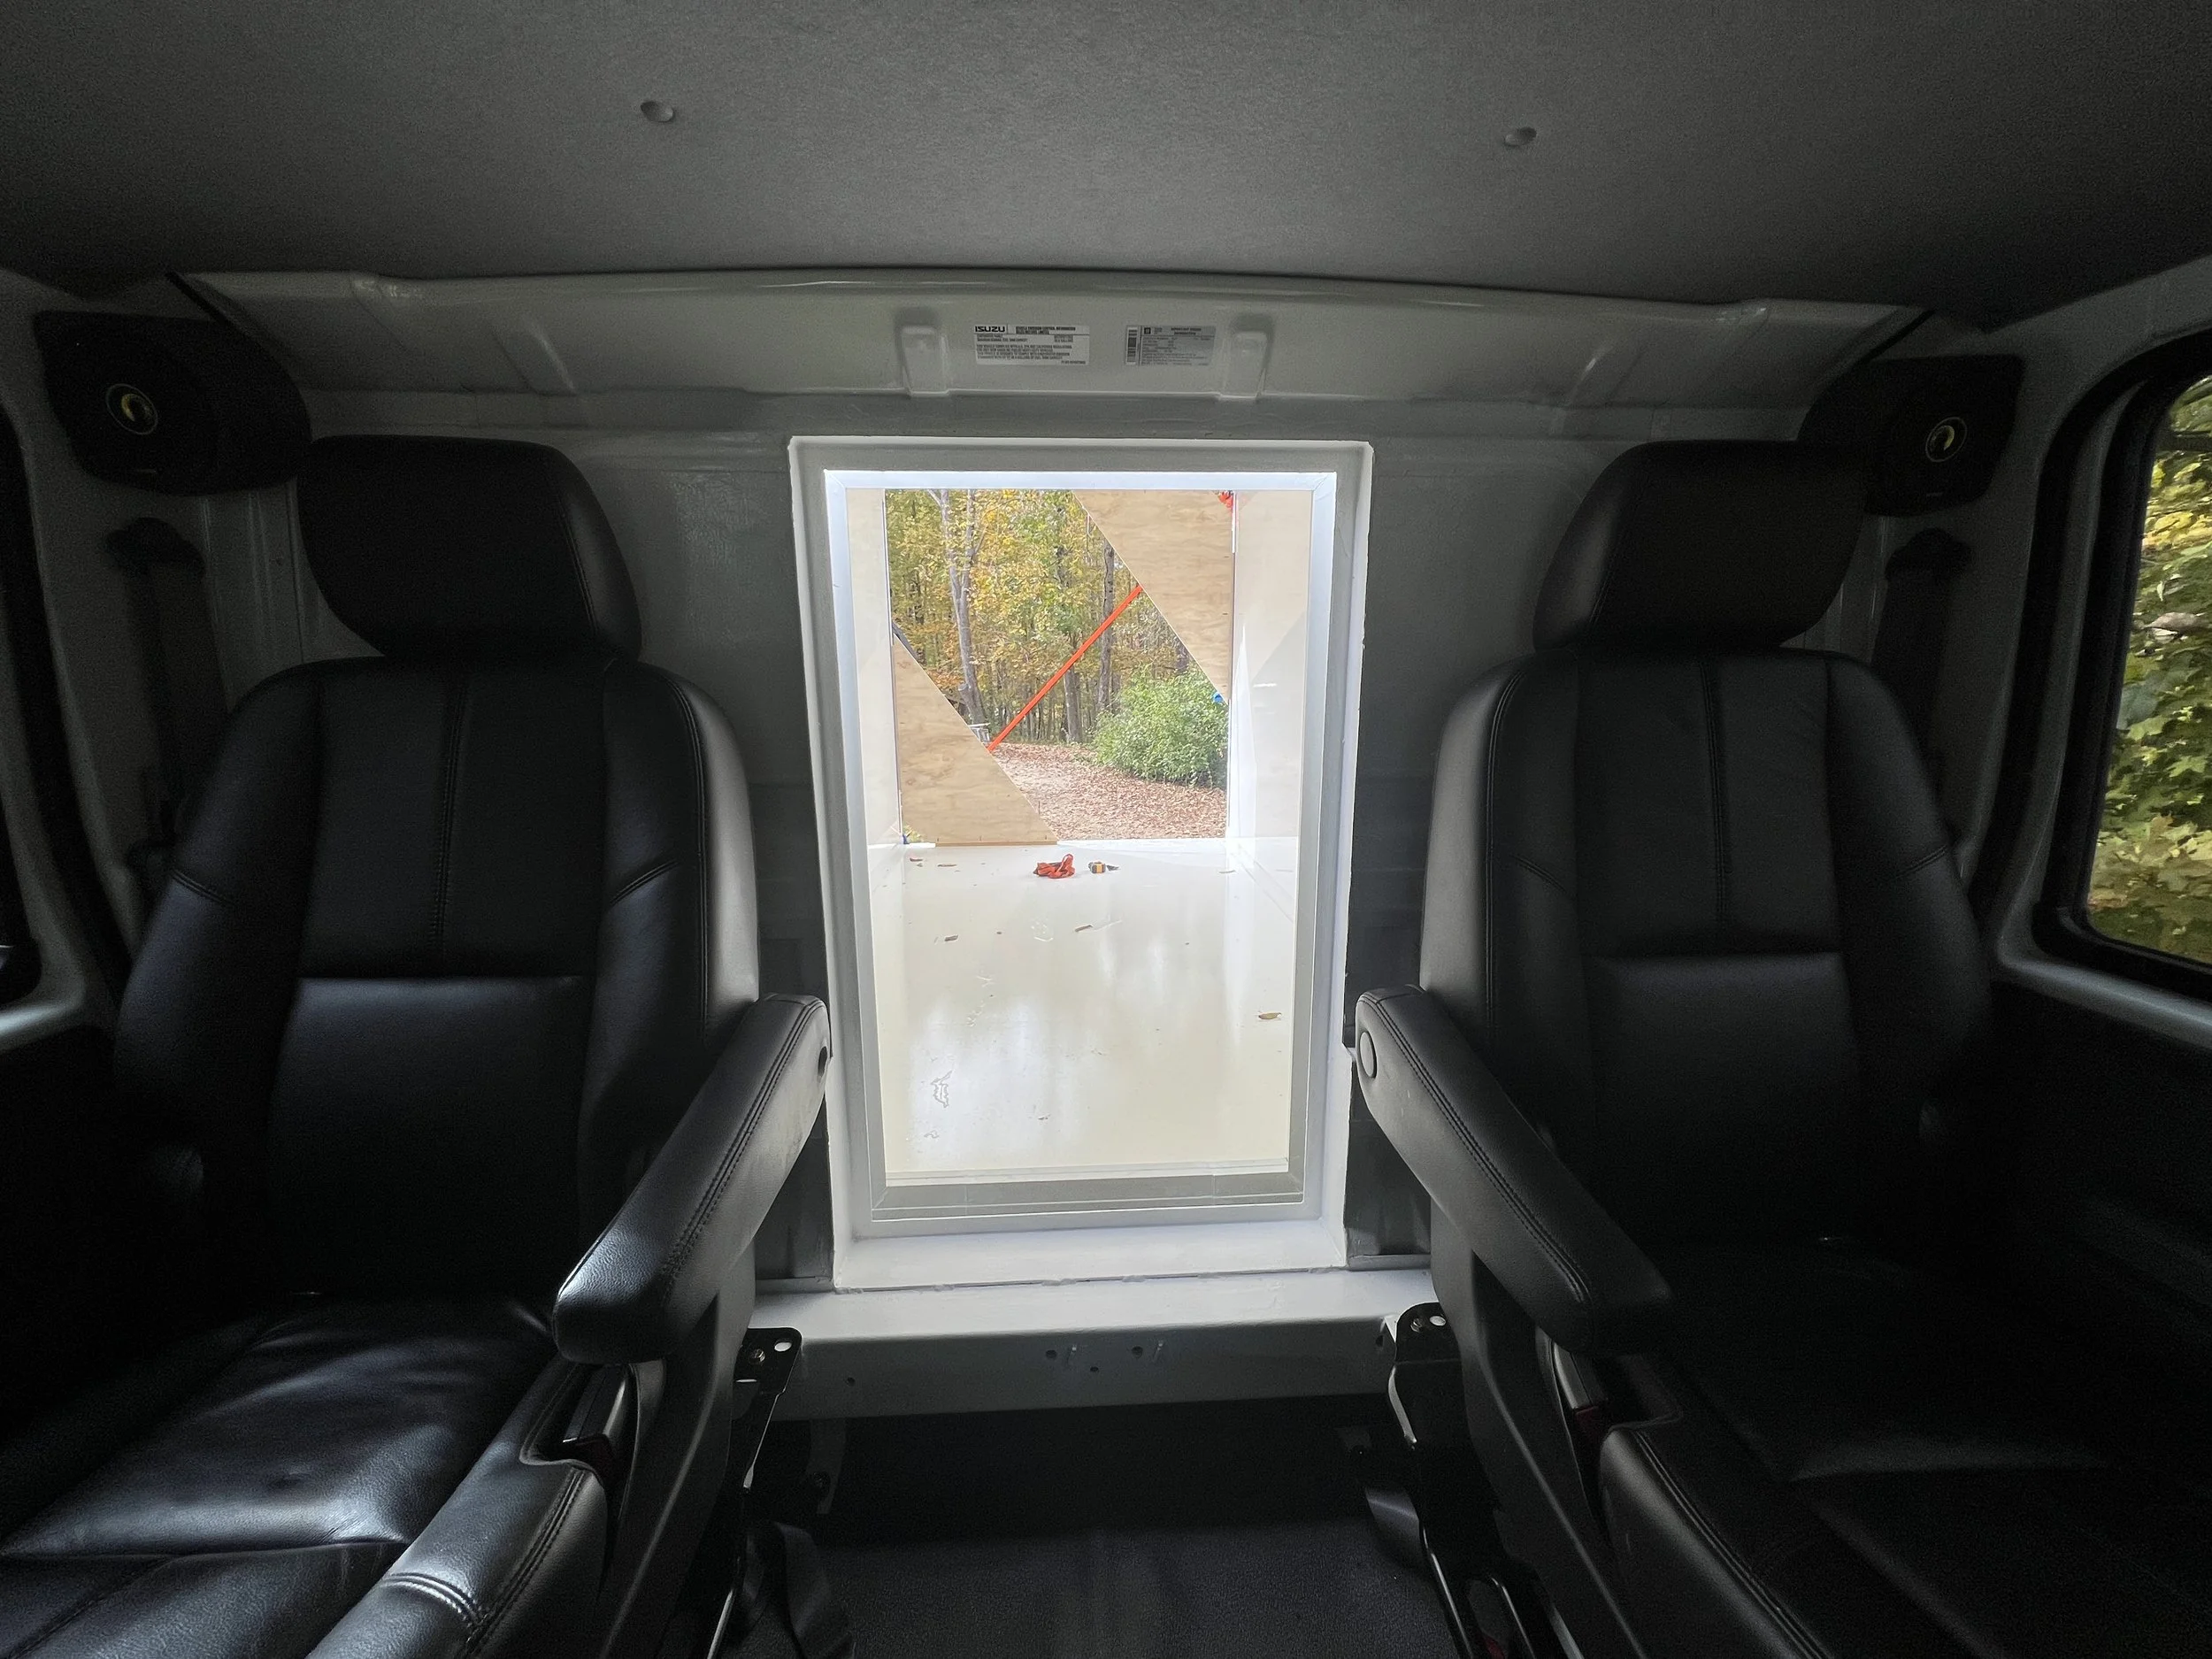
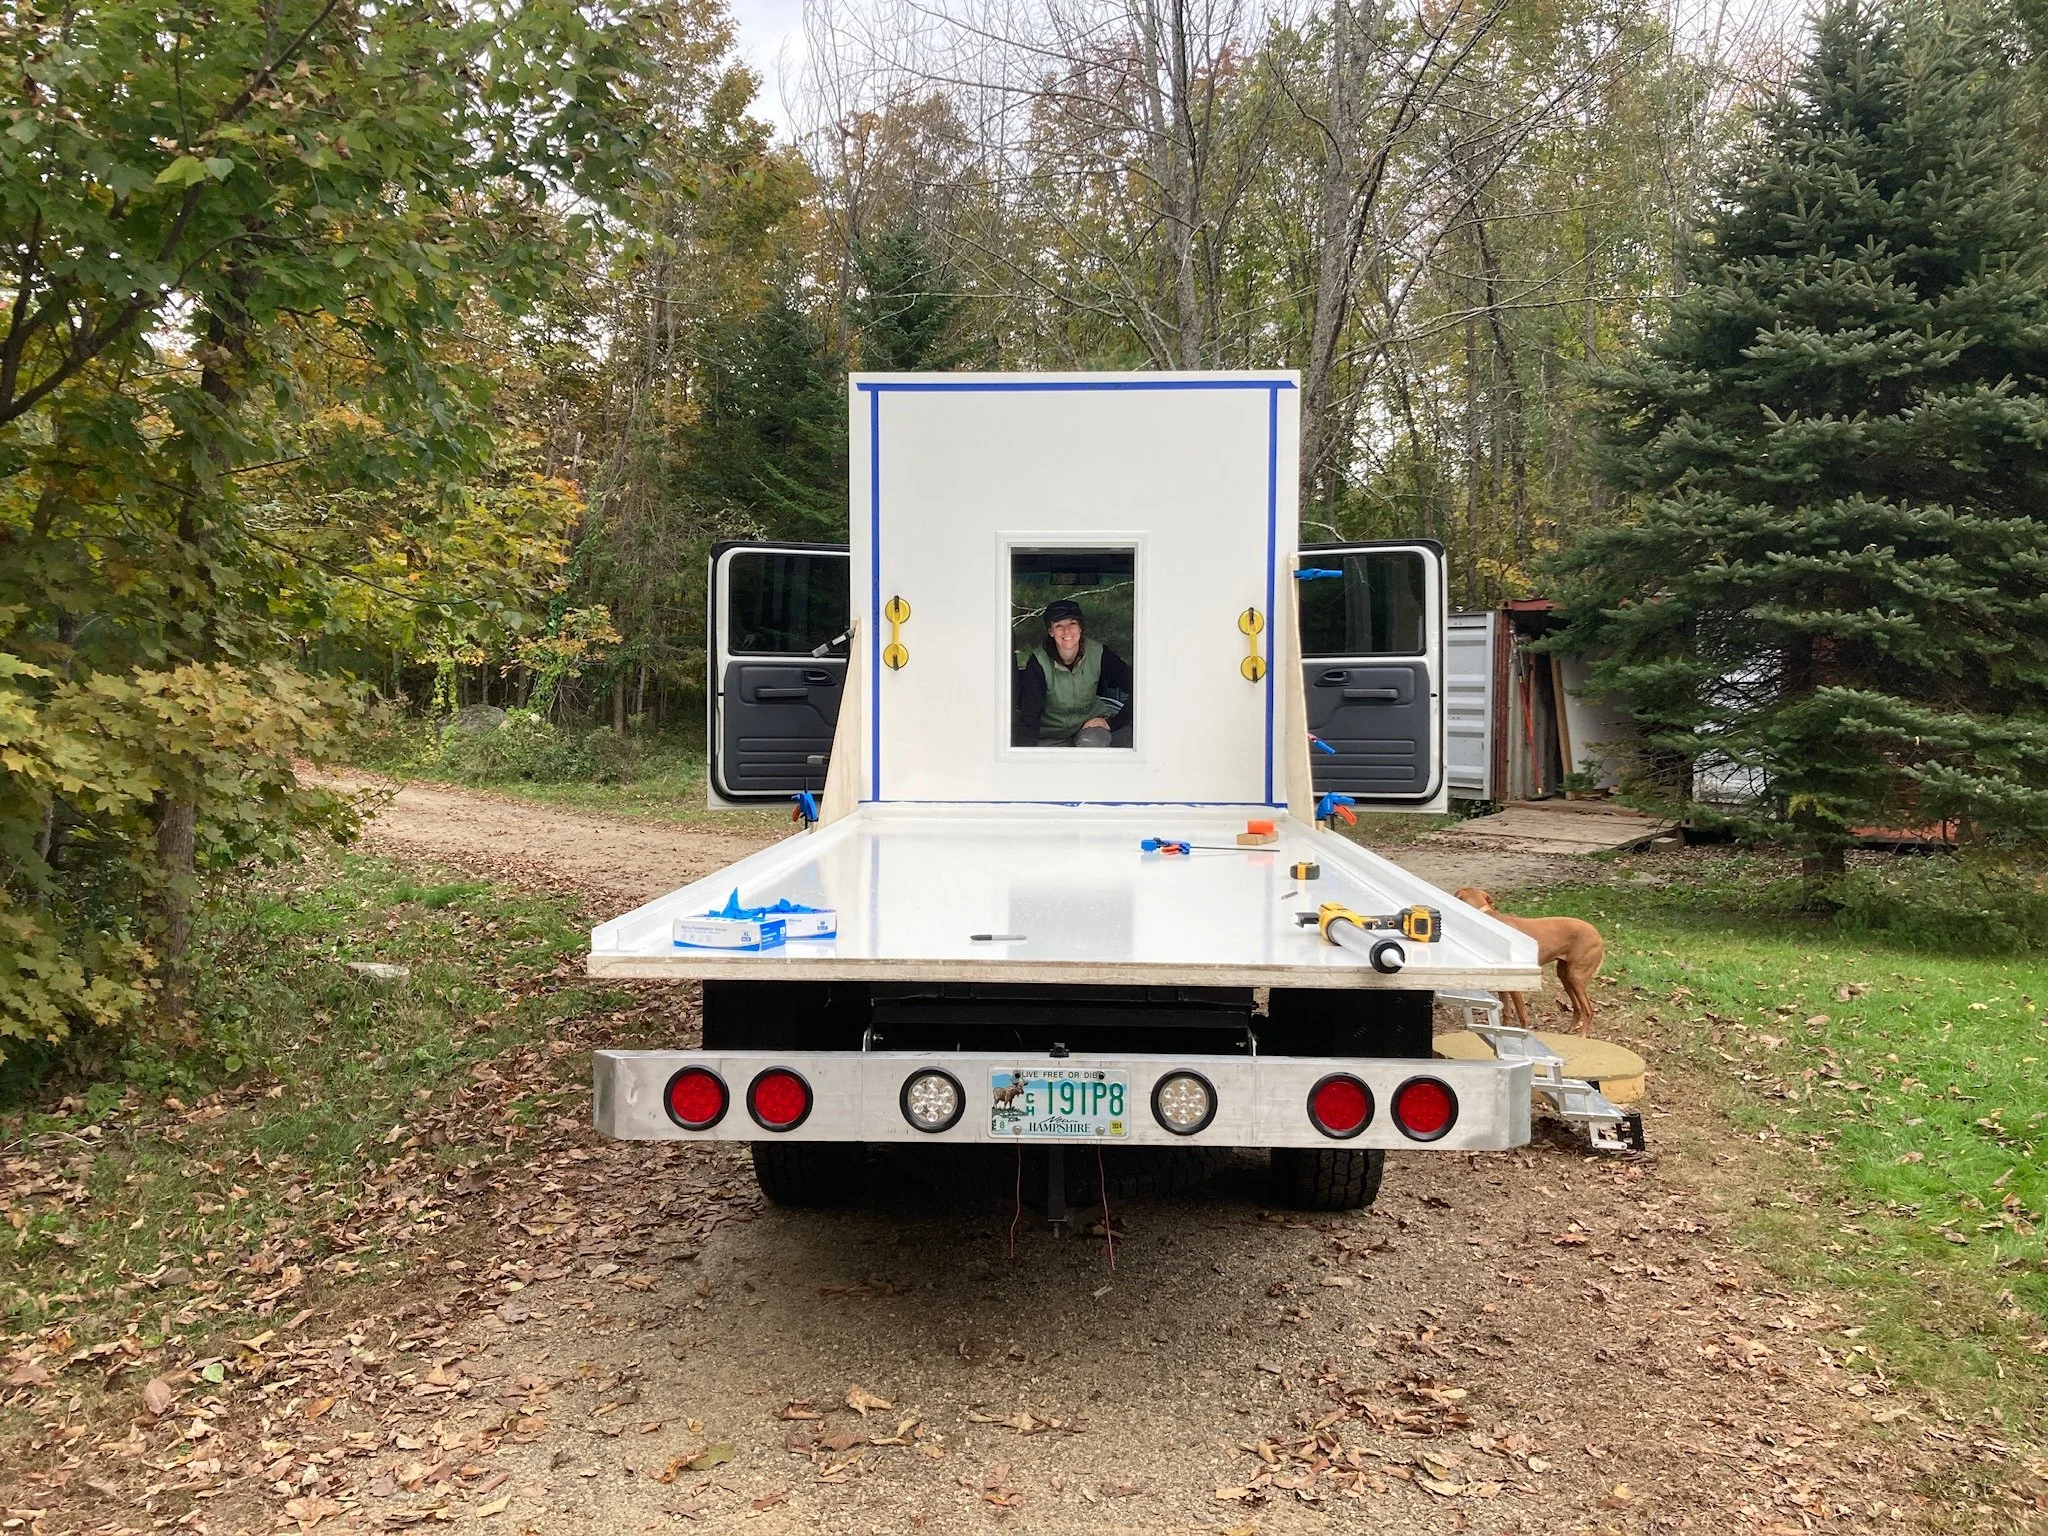
By starting with a crew cab platform, we gained a significant structural advantage. The rear wall of the cab extends from floor to ceiling at nearly five feet in height, with approximately 80 inches of available width. This allowed us to design a centered, walk-through-style opening rather than a crawl-through. The final pass-through opening measures 24 in x 36 in—still smaller than a van, but large enough to step through comfortably in a single movement.
Positioned between the rear seats, this layout allows the back seat area to function as general storage while we are in the camper, and provides quick access to the front seats when needed. The result is a practical, intuitive flow between cab and camper that supports daily use on the road.
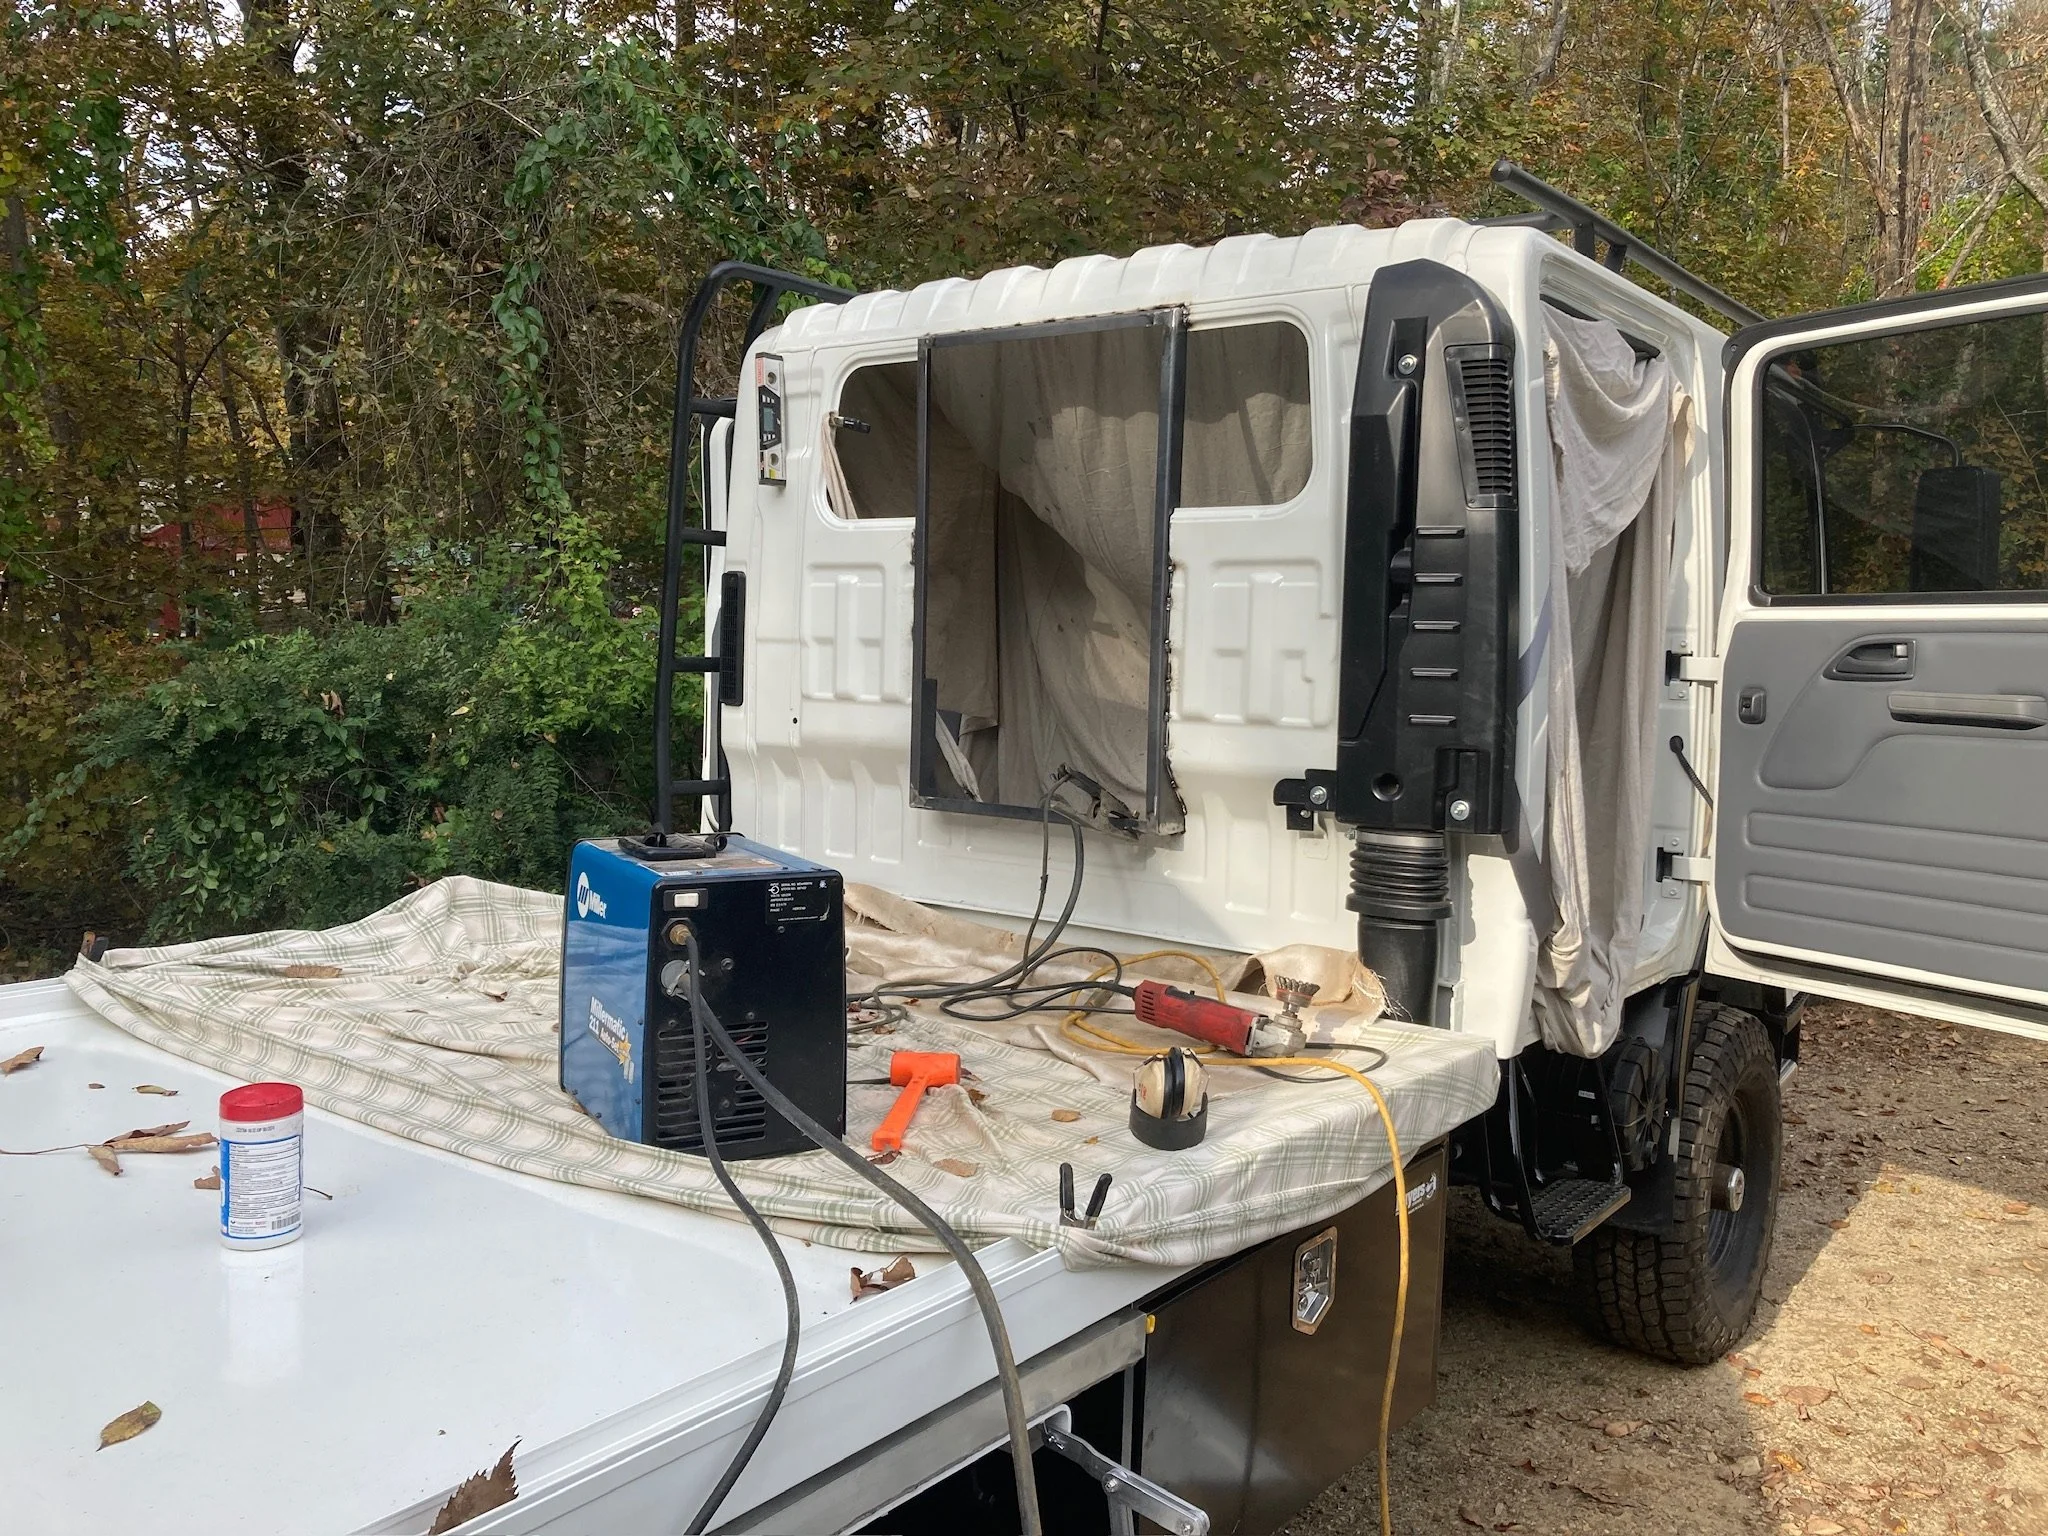
Structural Layout and Cutout
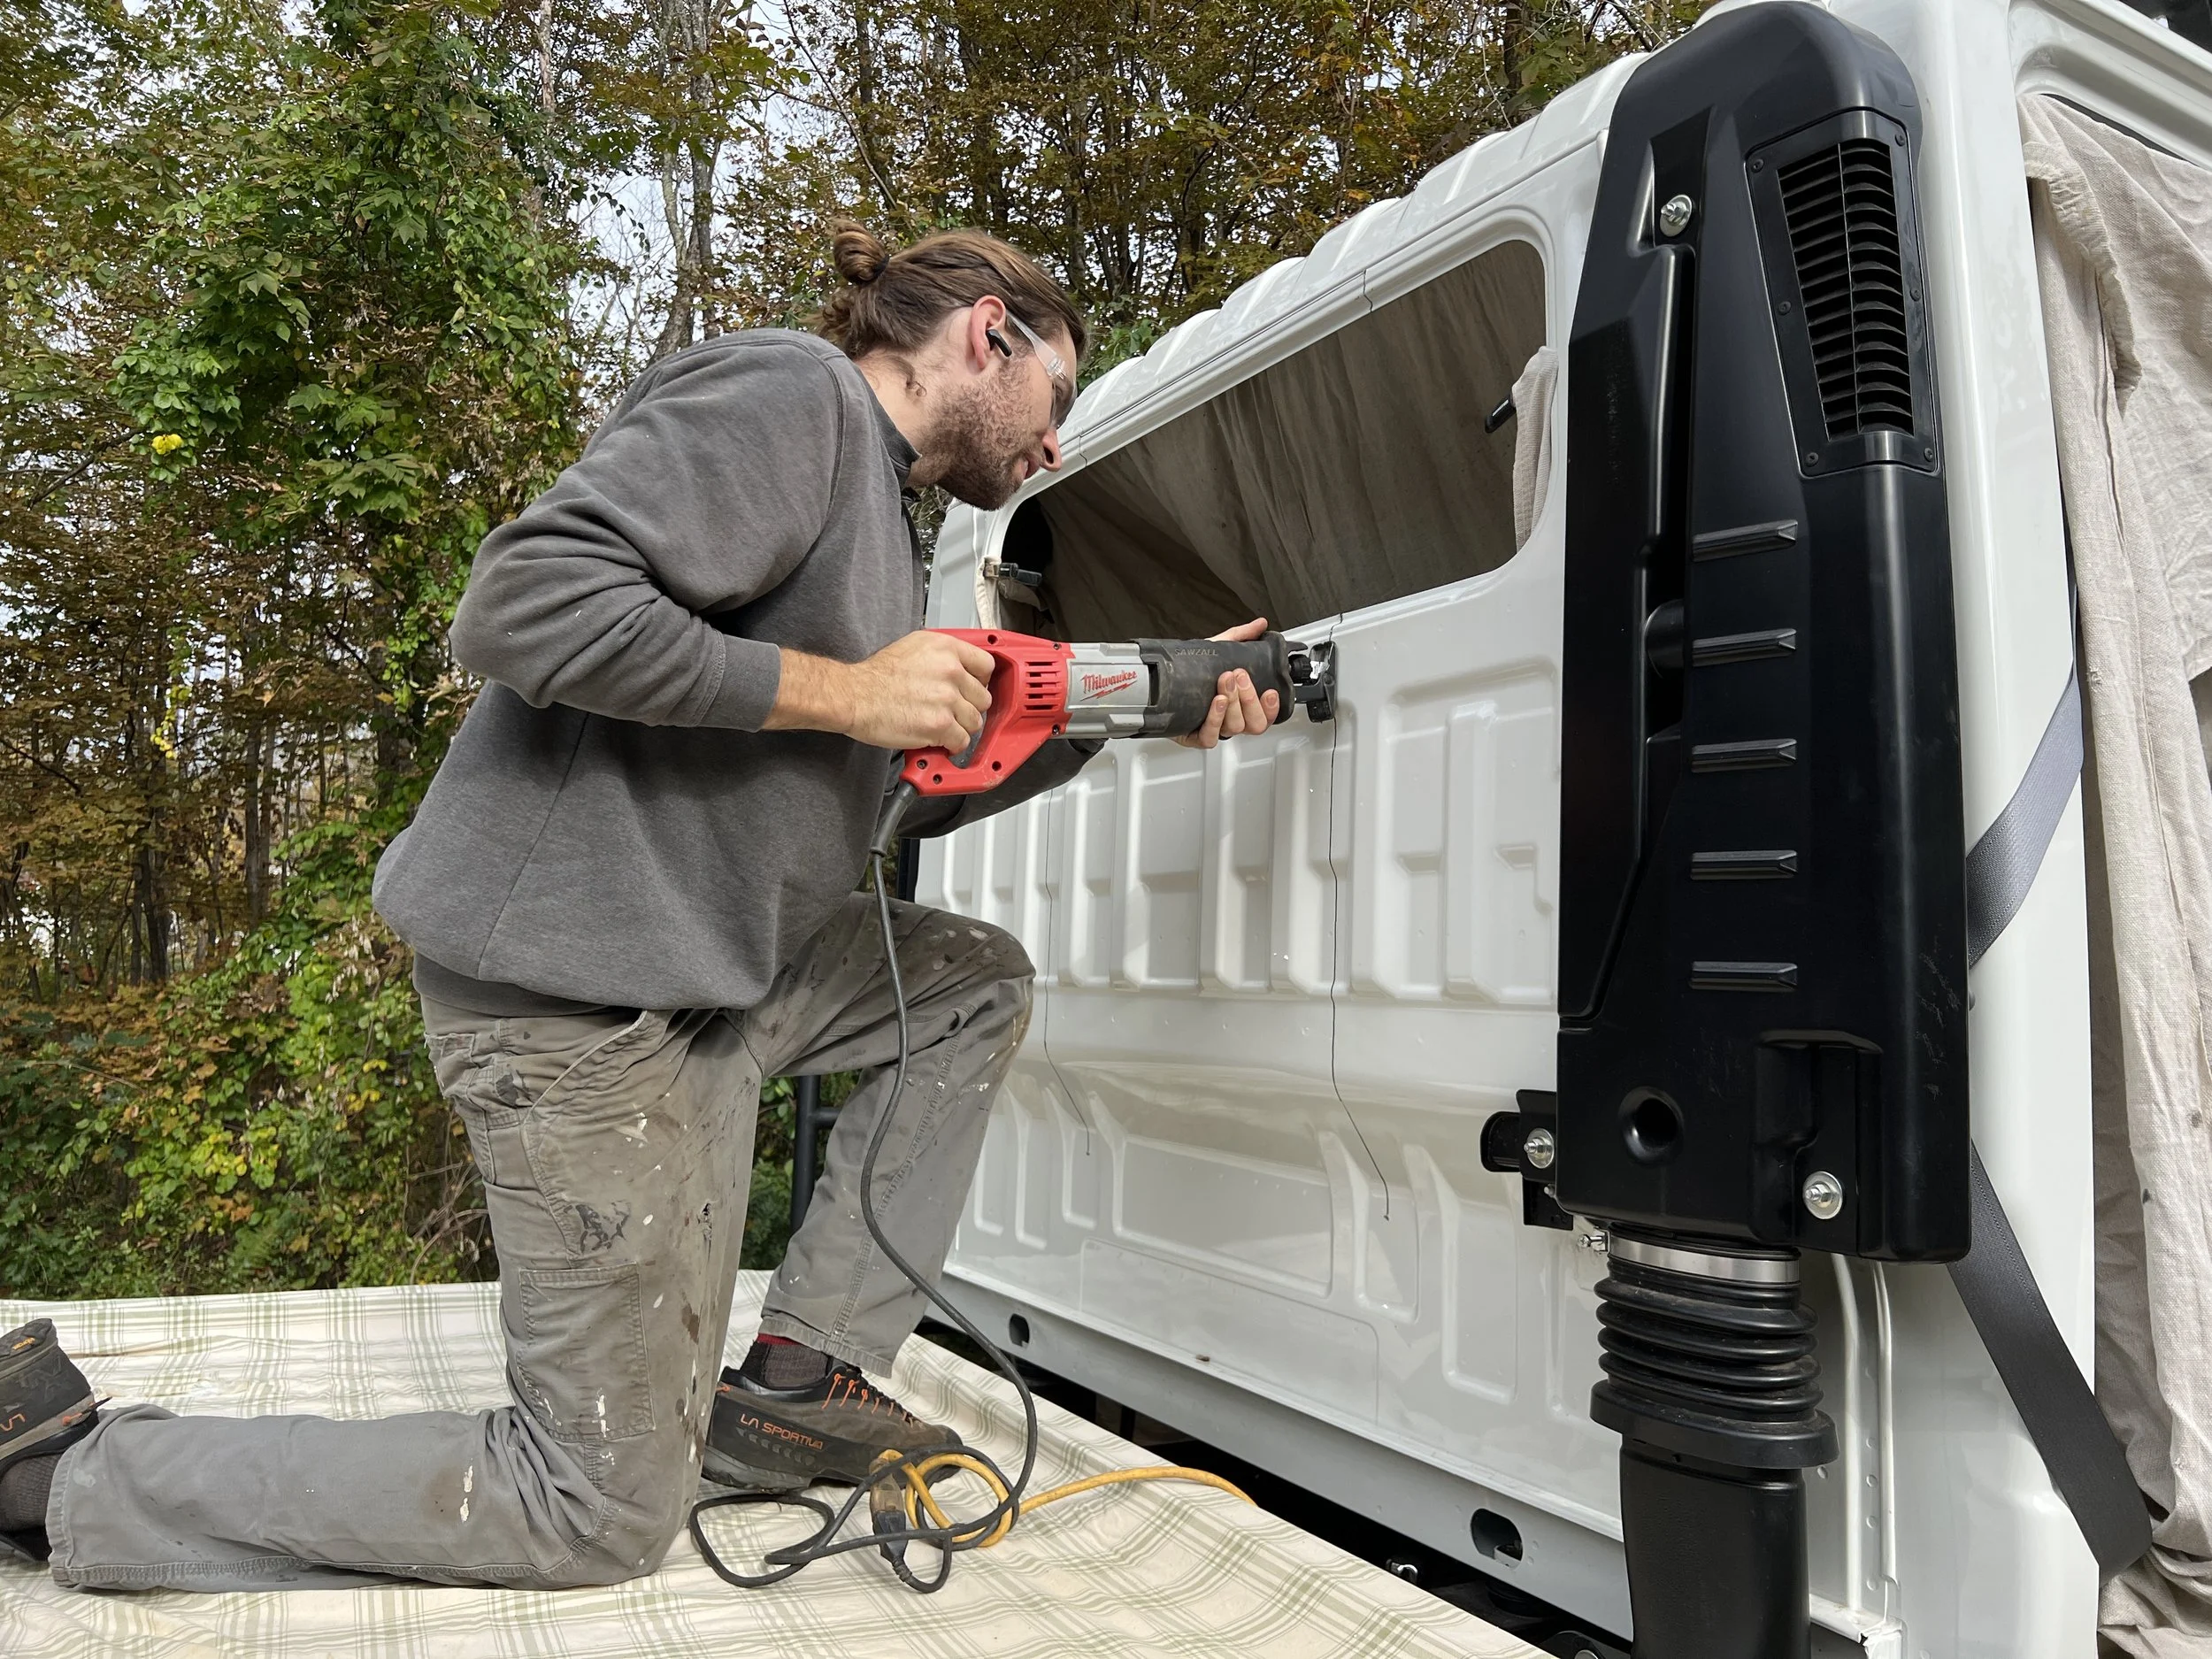
Using the cab’s existing structural framing as reference points, we measured and marked the largest possible opening while maintaining structural integrity. Several factory horizontal features provided straight reference lines, which allowed us to transfer measurements accurately and keep the opening square.
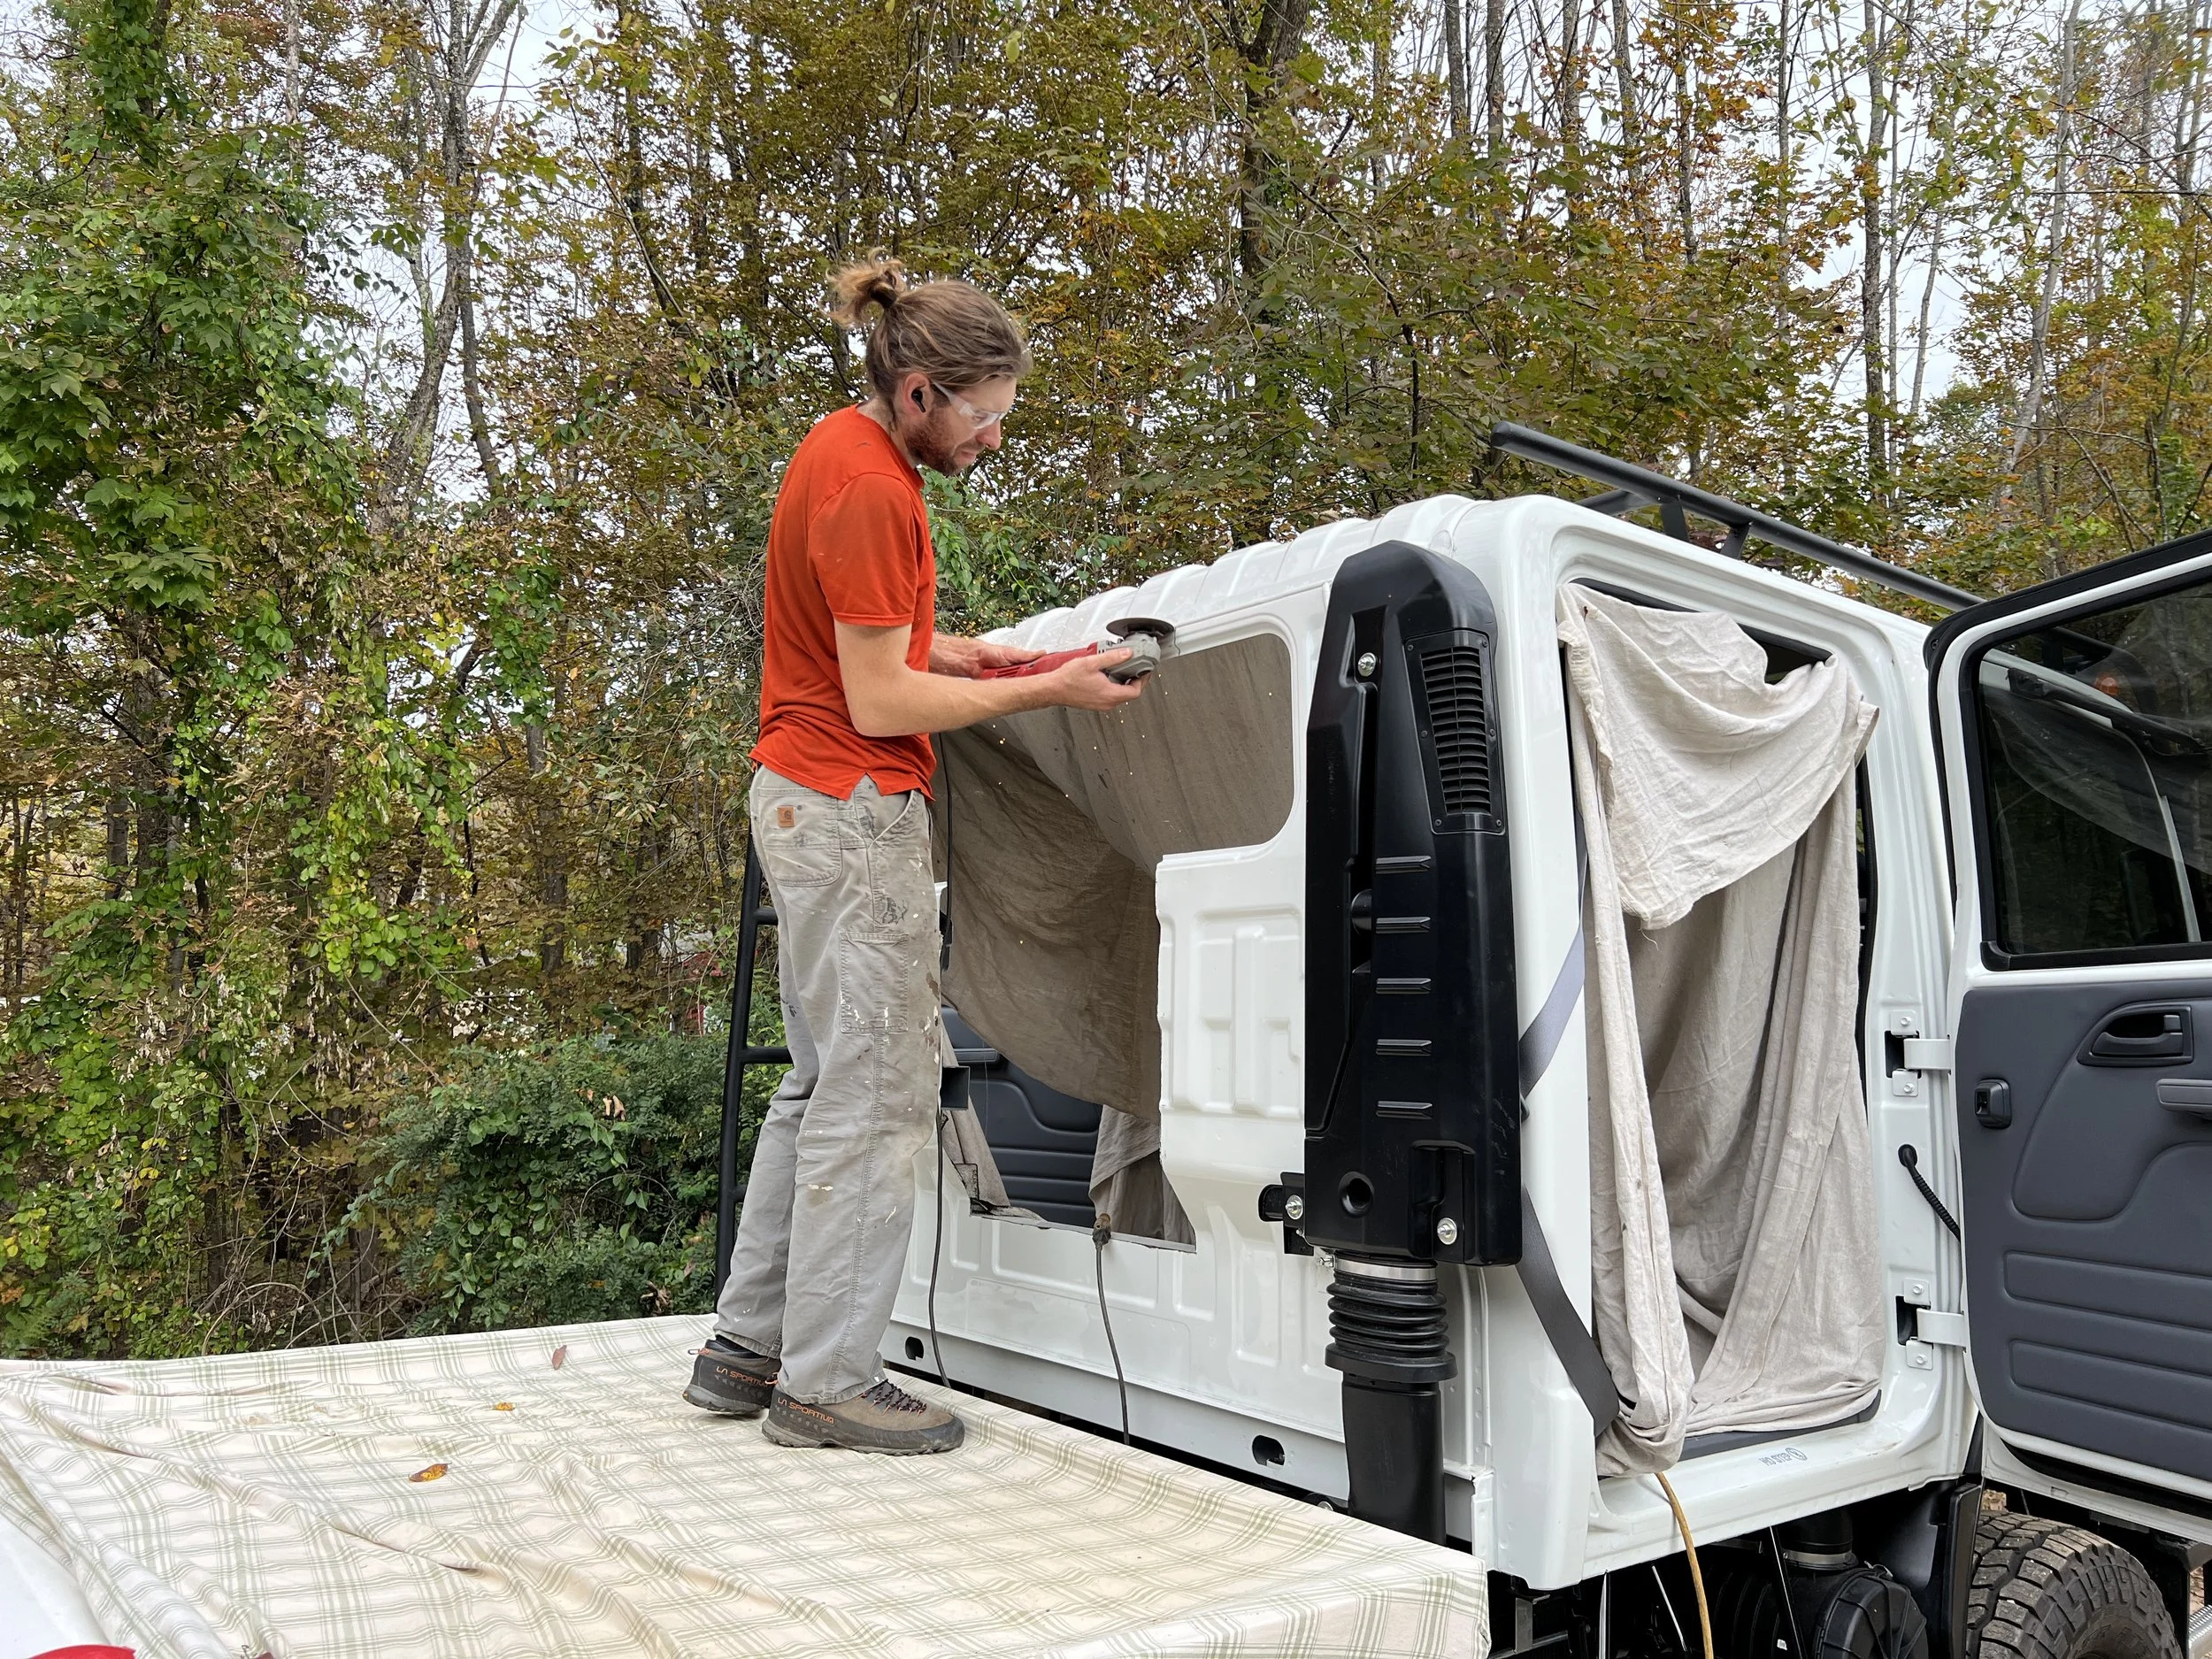
Once the layout was finalized, measurements were verified multiple times before cutting. Precision here is critical—any misalignment would compound during framing and sealing. After confirming squareness and position, the opening was cut through the rear cab wall.
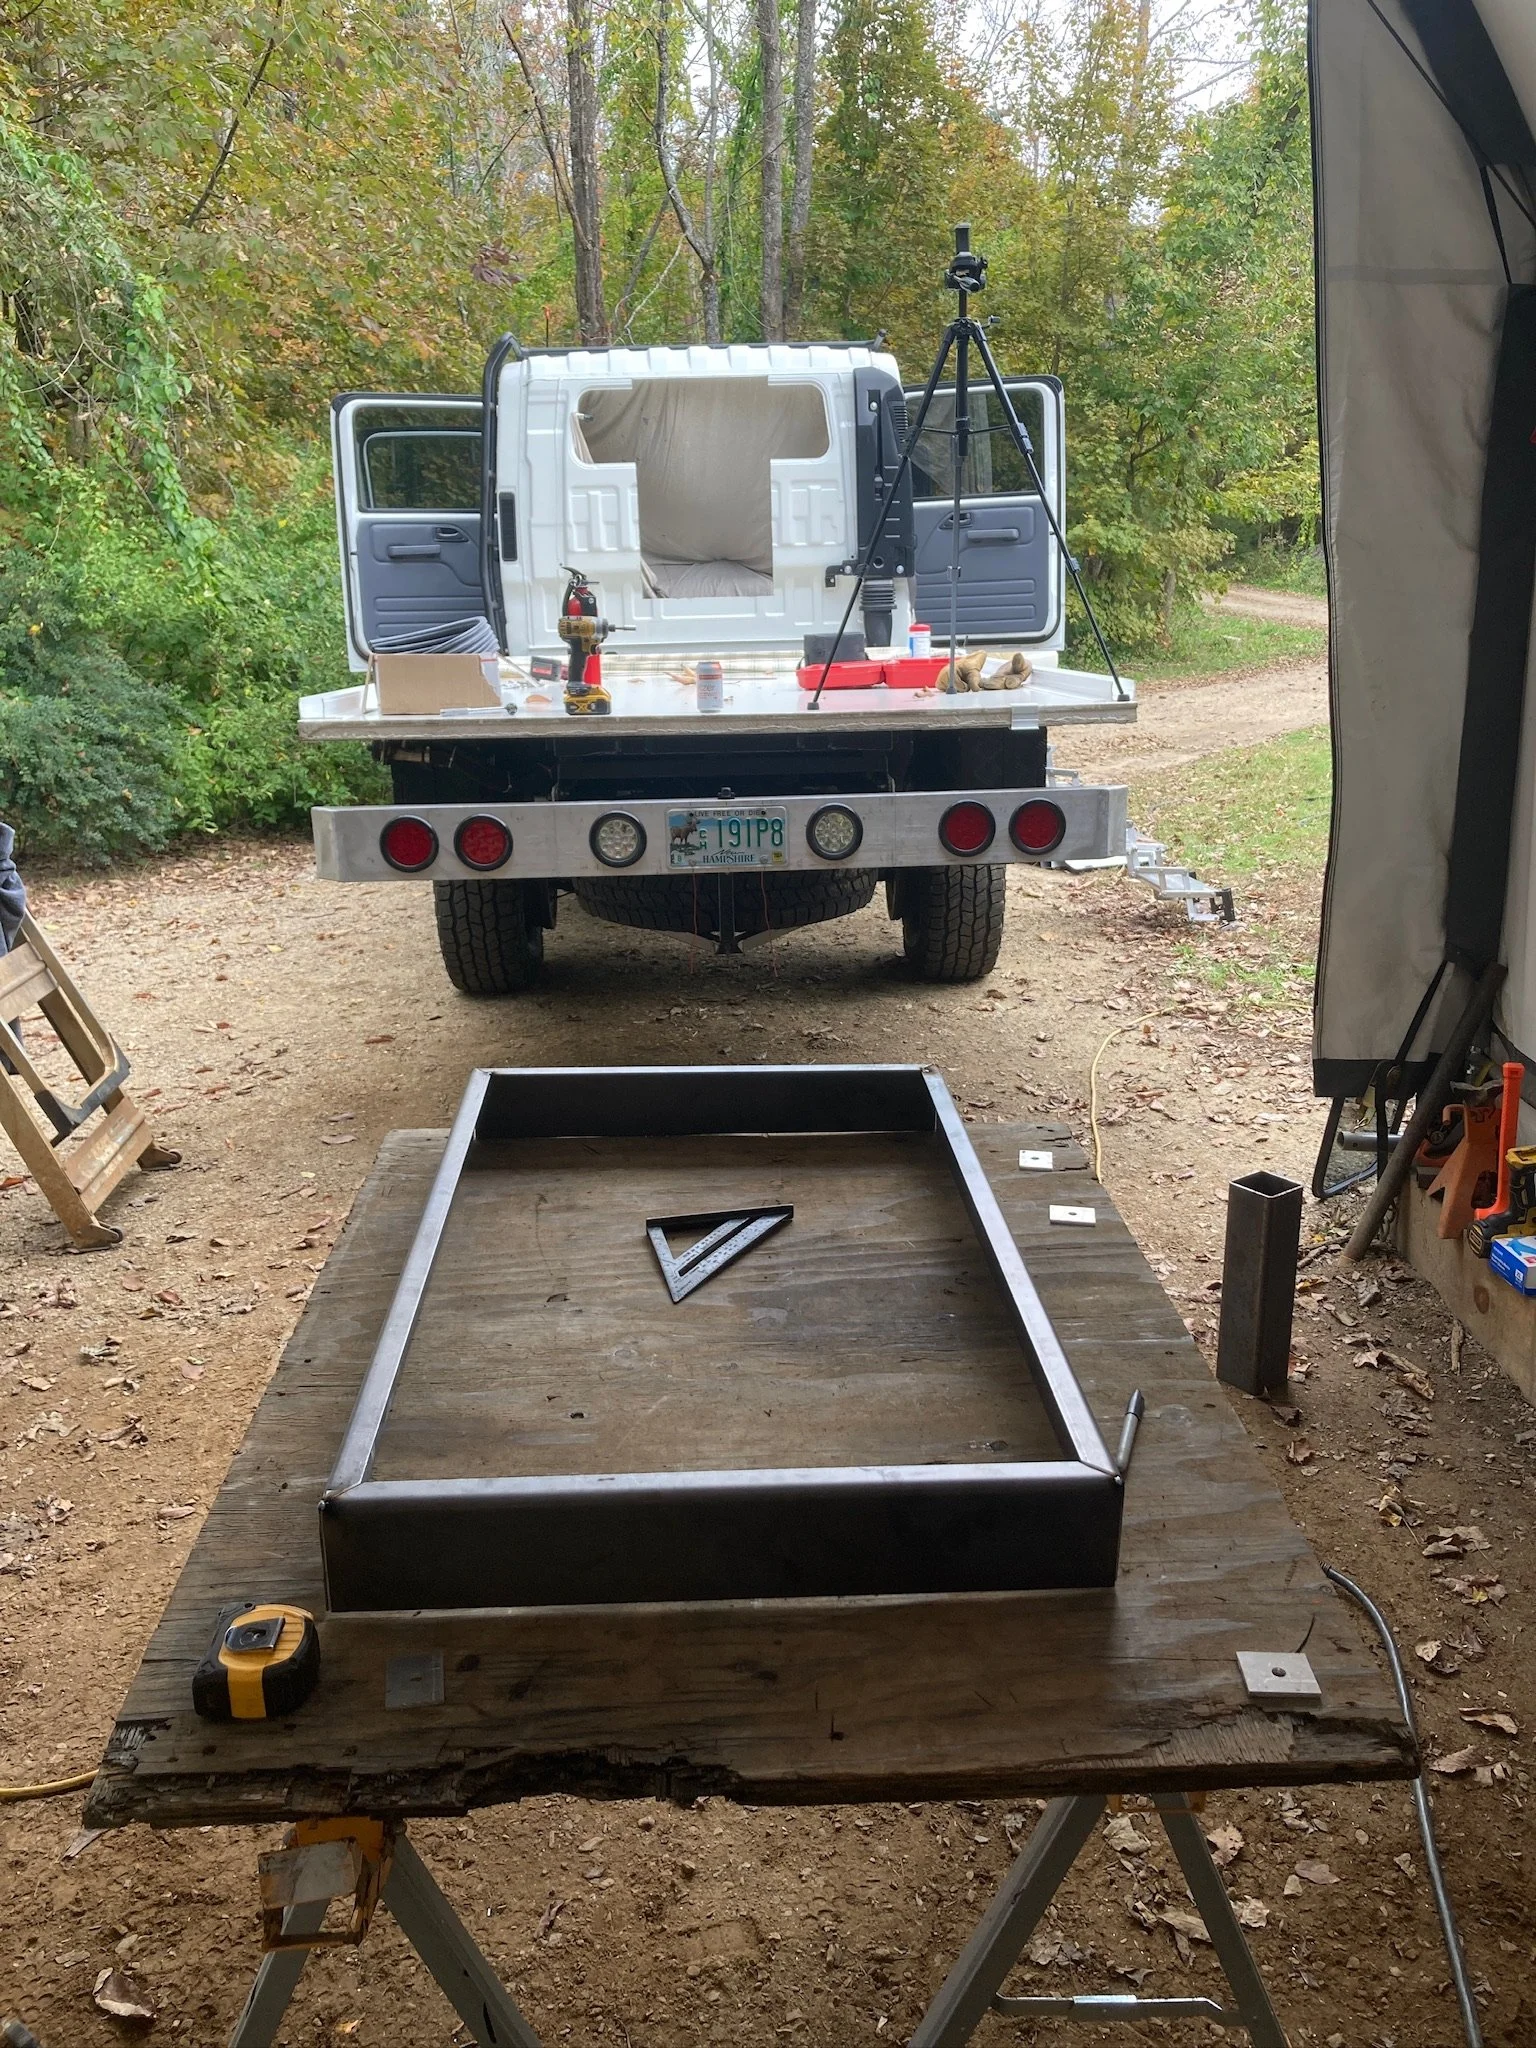
Steel Frame Fabrication and Installation
To reinforce the opening, we fabricated a steel frame from 11-gauge material. The frame was formed from bent angle sections measuring 1/2 in x 4 in, welded into a rectangular assembly with mitered corners. The 1/2-inch flange was oriented inward, allowing the frame to sit inside the cab opening.
Because the rear cab wall is not perfectly uniform, the 4-inch depth of the frame provided enough flexibility to position the flange parallel to the camper wall while still allowing a continuous weld around the perimeter. This depth also adds rigidity and creates a clean interface for sealing.
With the frame tacked in place, we verified alignment by referencing the truck frame to ensure the pass-through would be parallel with the camper structure. Minor adjustments were made before stitch welding the frame permanently into position.
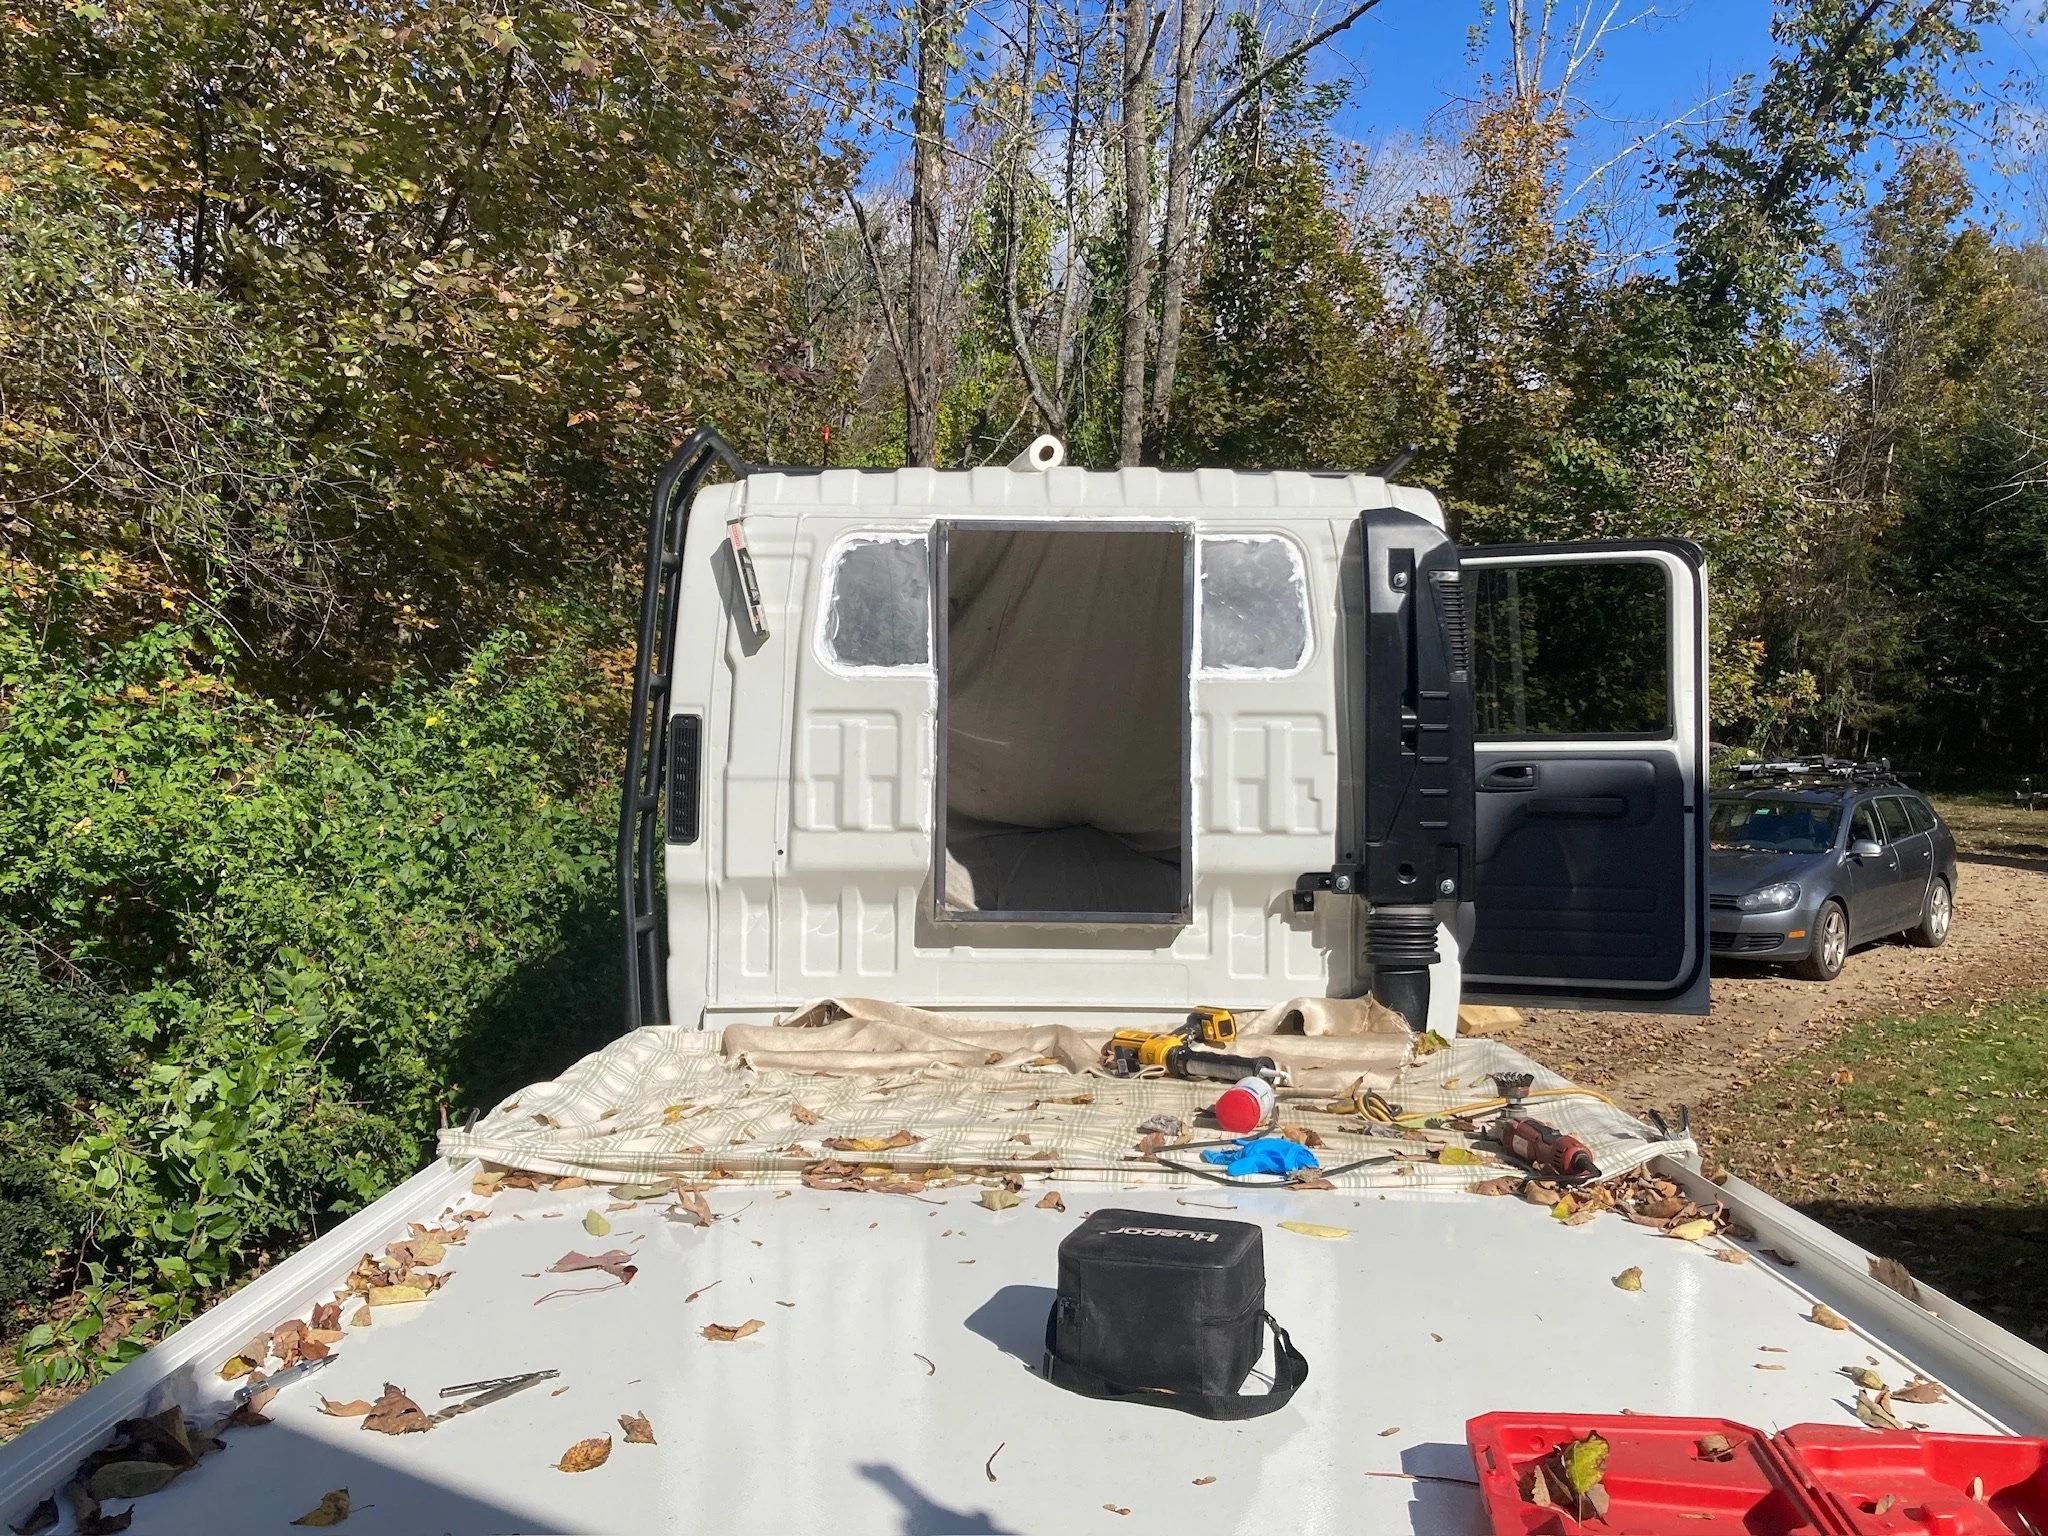
Closing the Remaining Openings
The truck originally had a rear window, which was removed as part of the pass-through installation. This left narrow sections on either side of the new opening that required infill. These areas were closed using 11-gauge sheet steel, stitch welded into place to maintain strength while controlling heat input and distortion.
All exposed steel was brush-painted for corrosion protection. Since the area is completely enclosed between the cab and camper, appearance was secondary to durability.
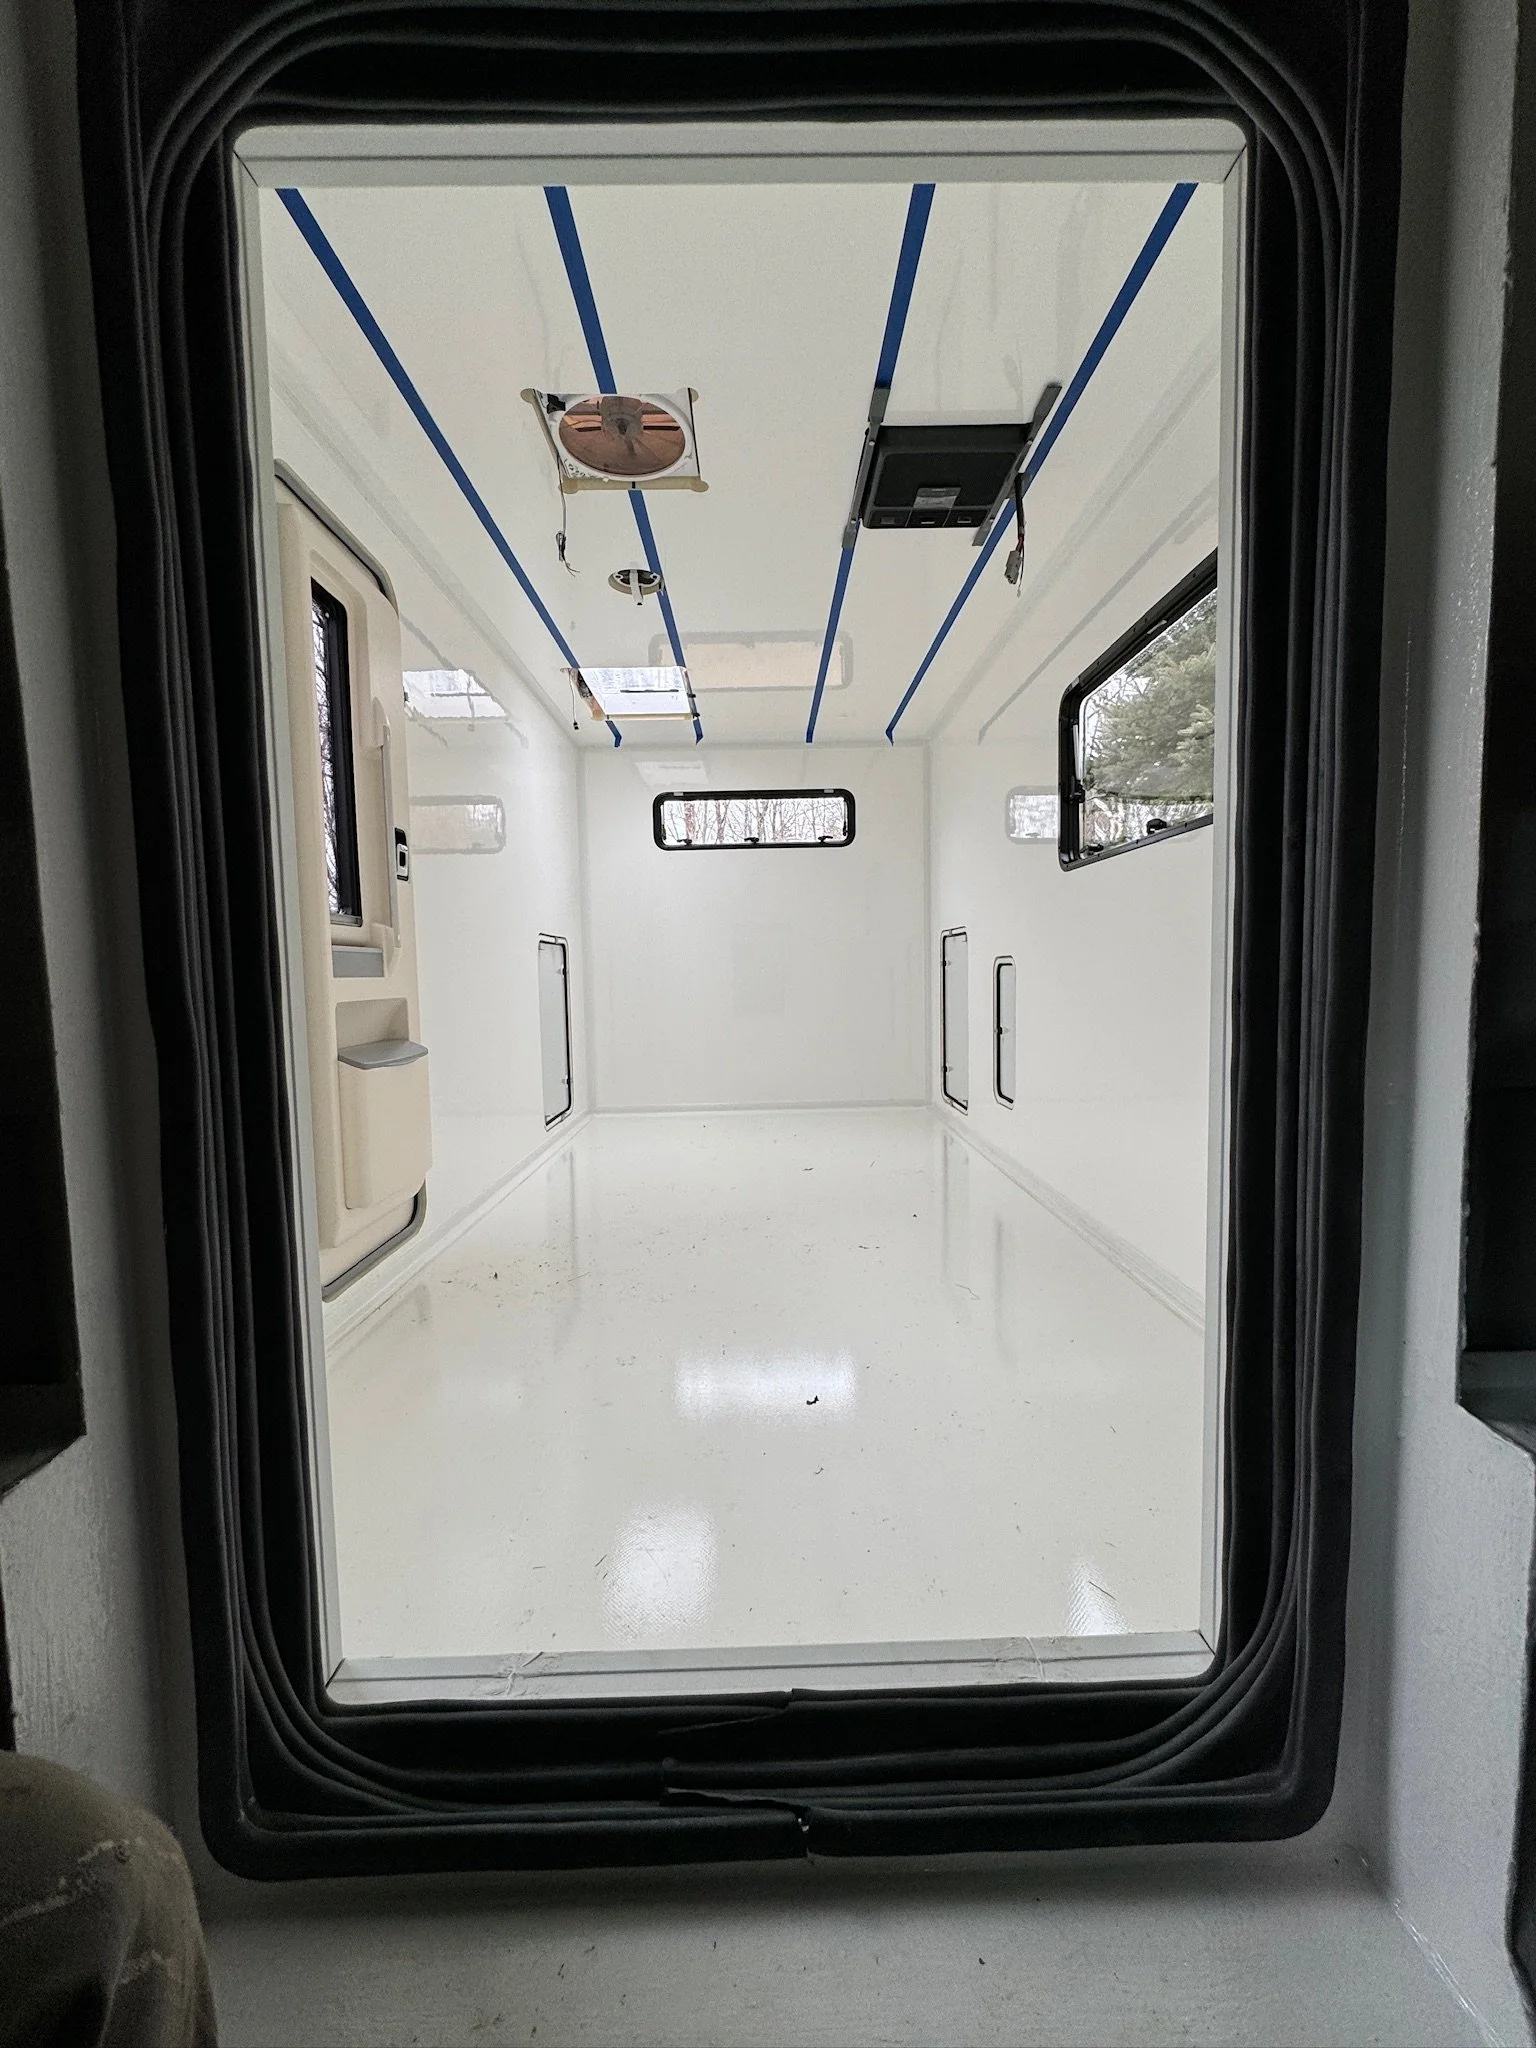
All weld seams and joints were sealed with a heavy bead of 3M seam sealer to ensure a weather-tight barrier. At this stage, the truck officially had a 2 ft x 3 ft opening cut into the back of a brand-new cab.
Cab-to-Camper Seal
A 4-inch rubber accordion boot was installed between the cab and the camper to provide a flexible, weatherproof connection. This design allows for relative movement between the truck chassis and camper while maintaining a sealed pass-through under all driving conditions.
The result is a robust, simple, and serviceable cab-to-camper interface that integrates cleanly with the overall expedition truck design.
Final Thoughts and Future Improvements
The completed pass-through has proven to be one of the most valuable features of the build. It performs exactly as intended, required no overly complex fabrication, and did not take weeks to execute. While cutting into a brand-new truck cab was understandably nerve-racking, the functionality gained far outweighs the initial hesitation.
Future upgrades include a folding, lockable door on the cab side to improve vehicle security, as well as an insulated curtain and removable plug. As with any large opening between conditioned spaces, thermal loss is a concern in both hot and cold environments, and improving insulation will further enhance year-round comfort.
Overall, the cab-to-camper pass-through has become a foundational element of how we live and travel in this truck—simple in concept, but transformative in daily use.