DIY NP205 Cable Shifter Installation: Twin Stick Control for Your Transfer Case
Upgrading Our NP205 Transfer Case with a Cable-Shifted Twin Stick
Installing our NP205 transfer case was only part of the solution — we still needed an efficient, reliable way to shift between gears and ranges.
While most modern transfer cases use electronic controls — buttons, knobs, or switches — our NP205 is an old-school, fully mechanical unit. We prefer that. Electronic systems can feel disconnected, and when you’re deep in the backcountry, mechanical simplicity often wins.

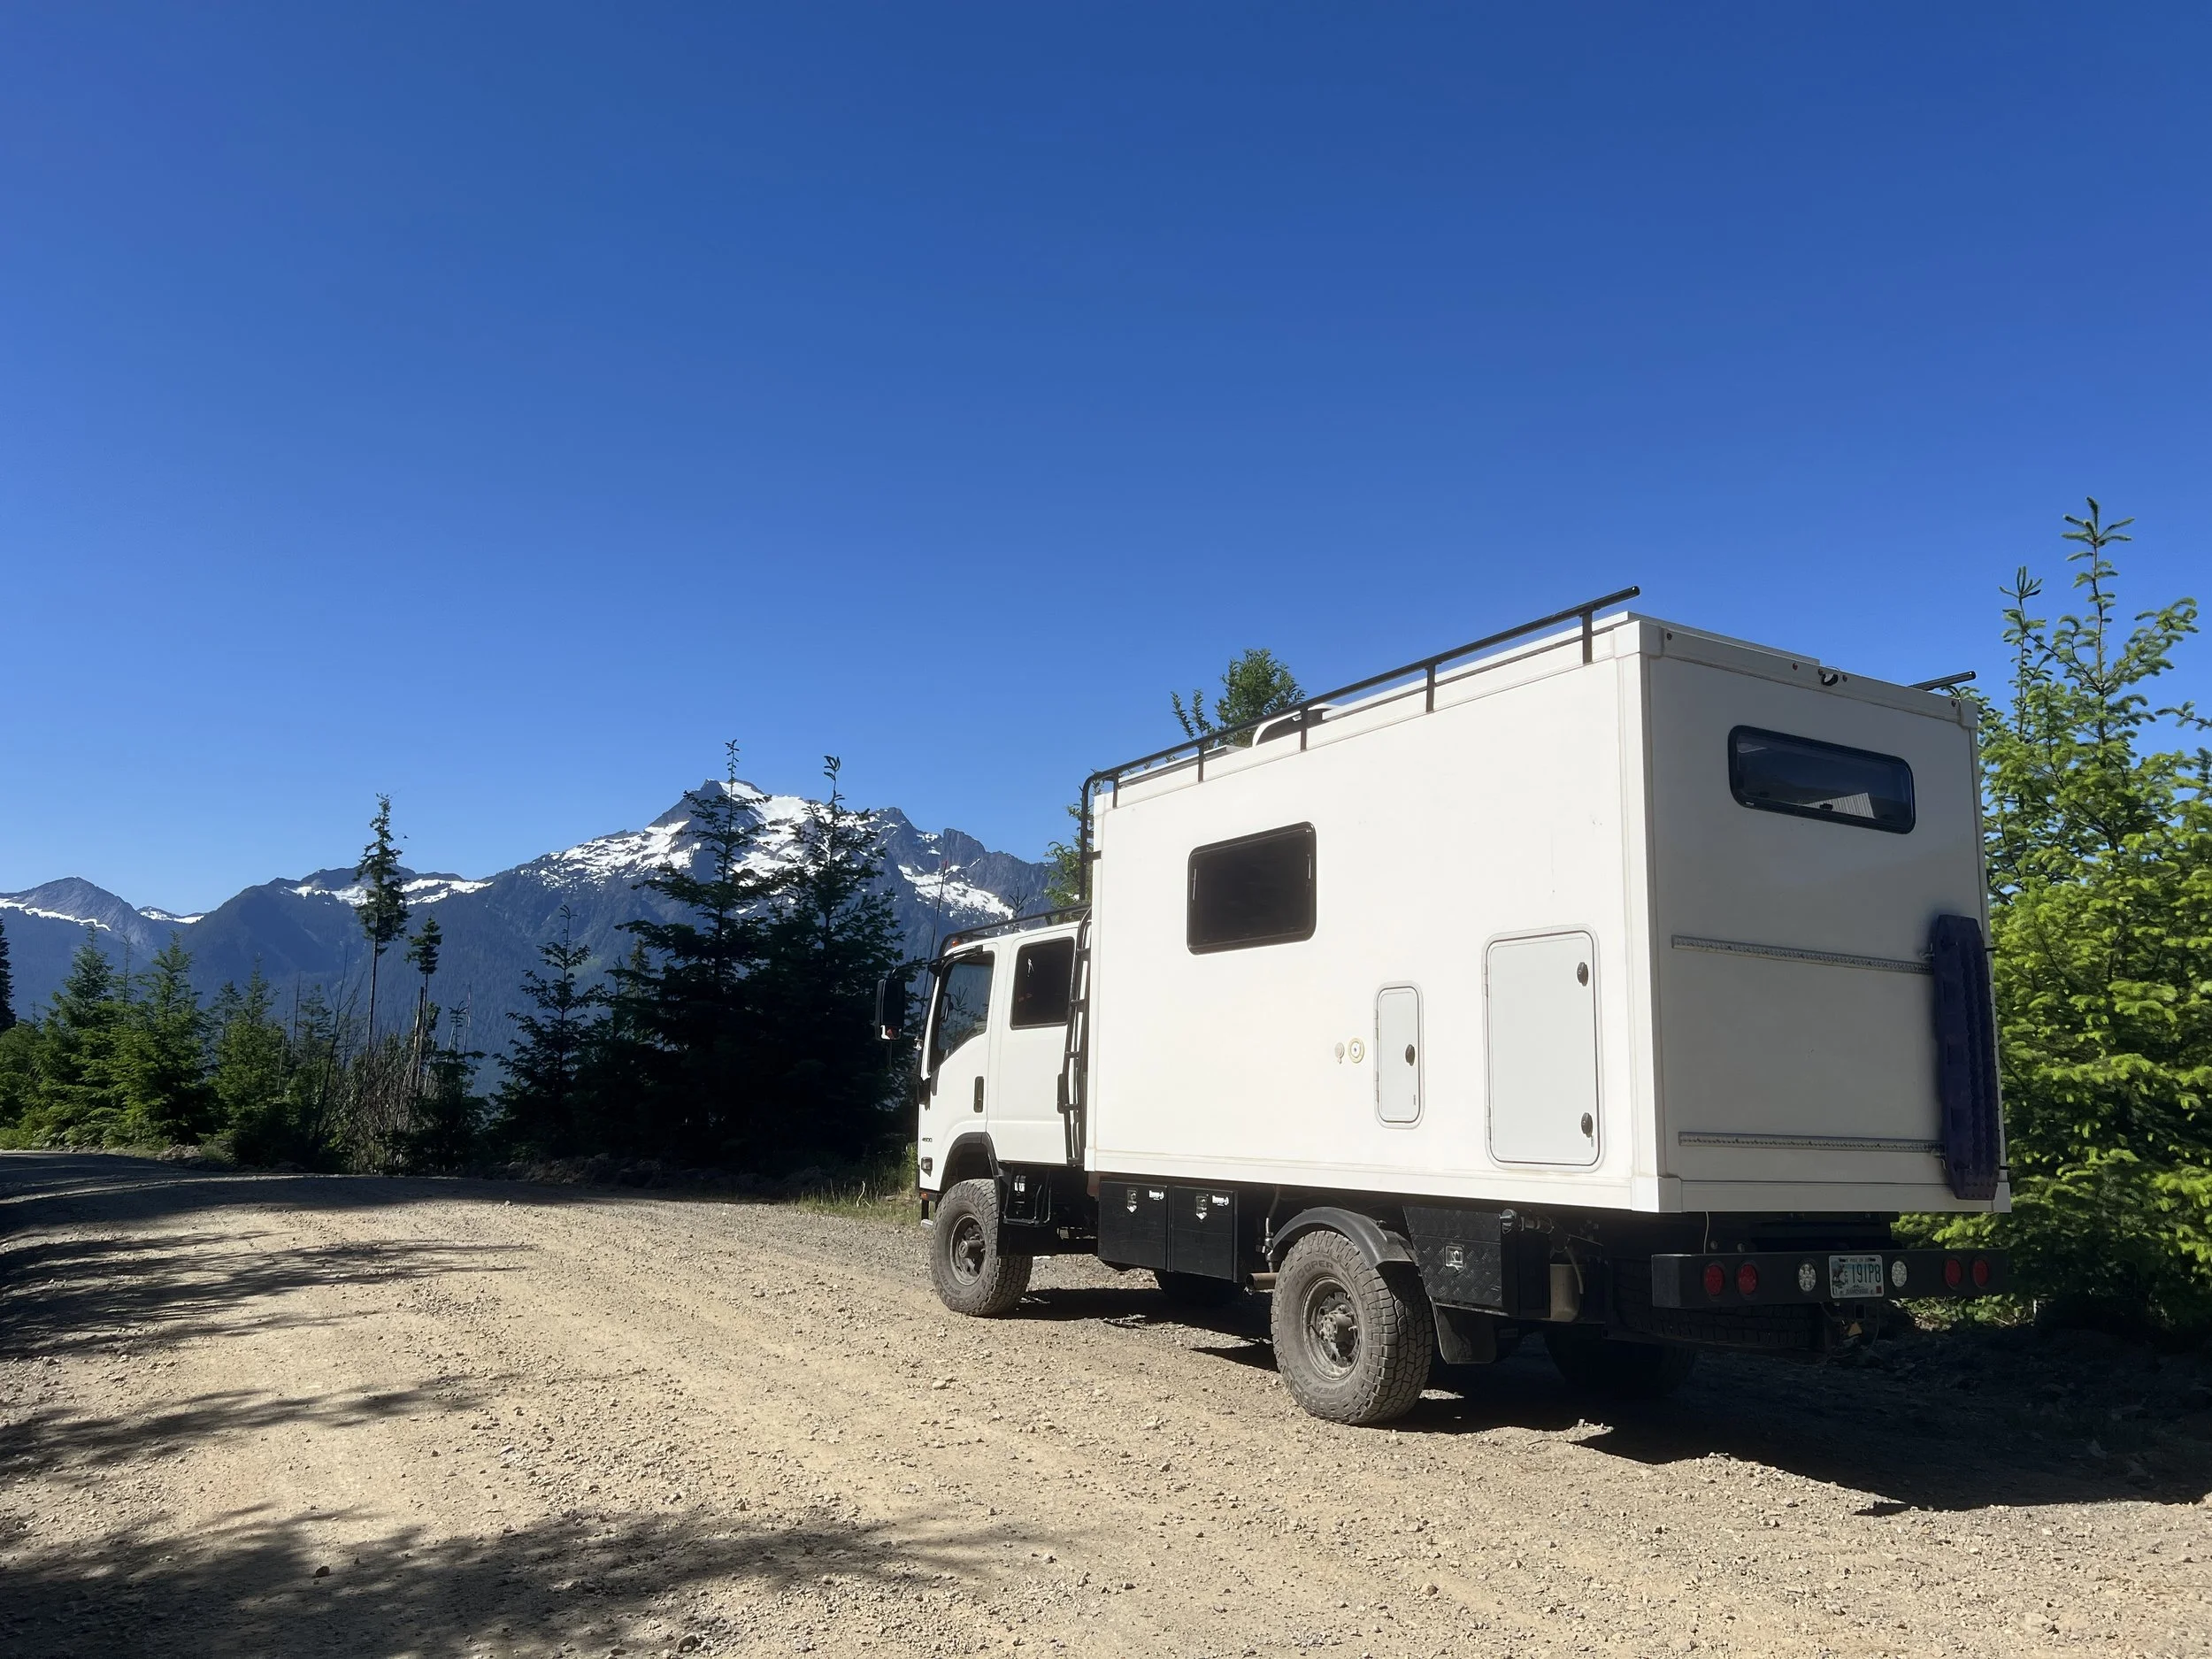
Because our truck has a cab-over-engine design and an extended frame, the NP205 sits roughly eight feet behind the driver’s seat. This made the conventional linkage-and-pivot setup impractical. Instead, we opted for cable-shift to simplify routing and improve reliability.
Putting things in motion -
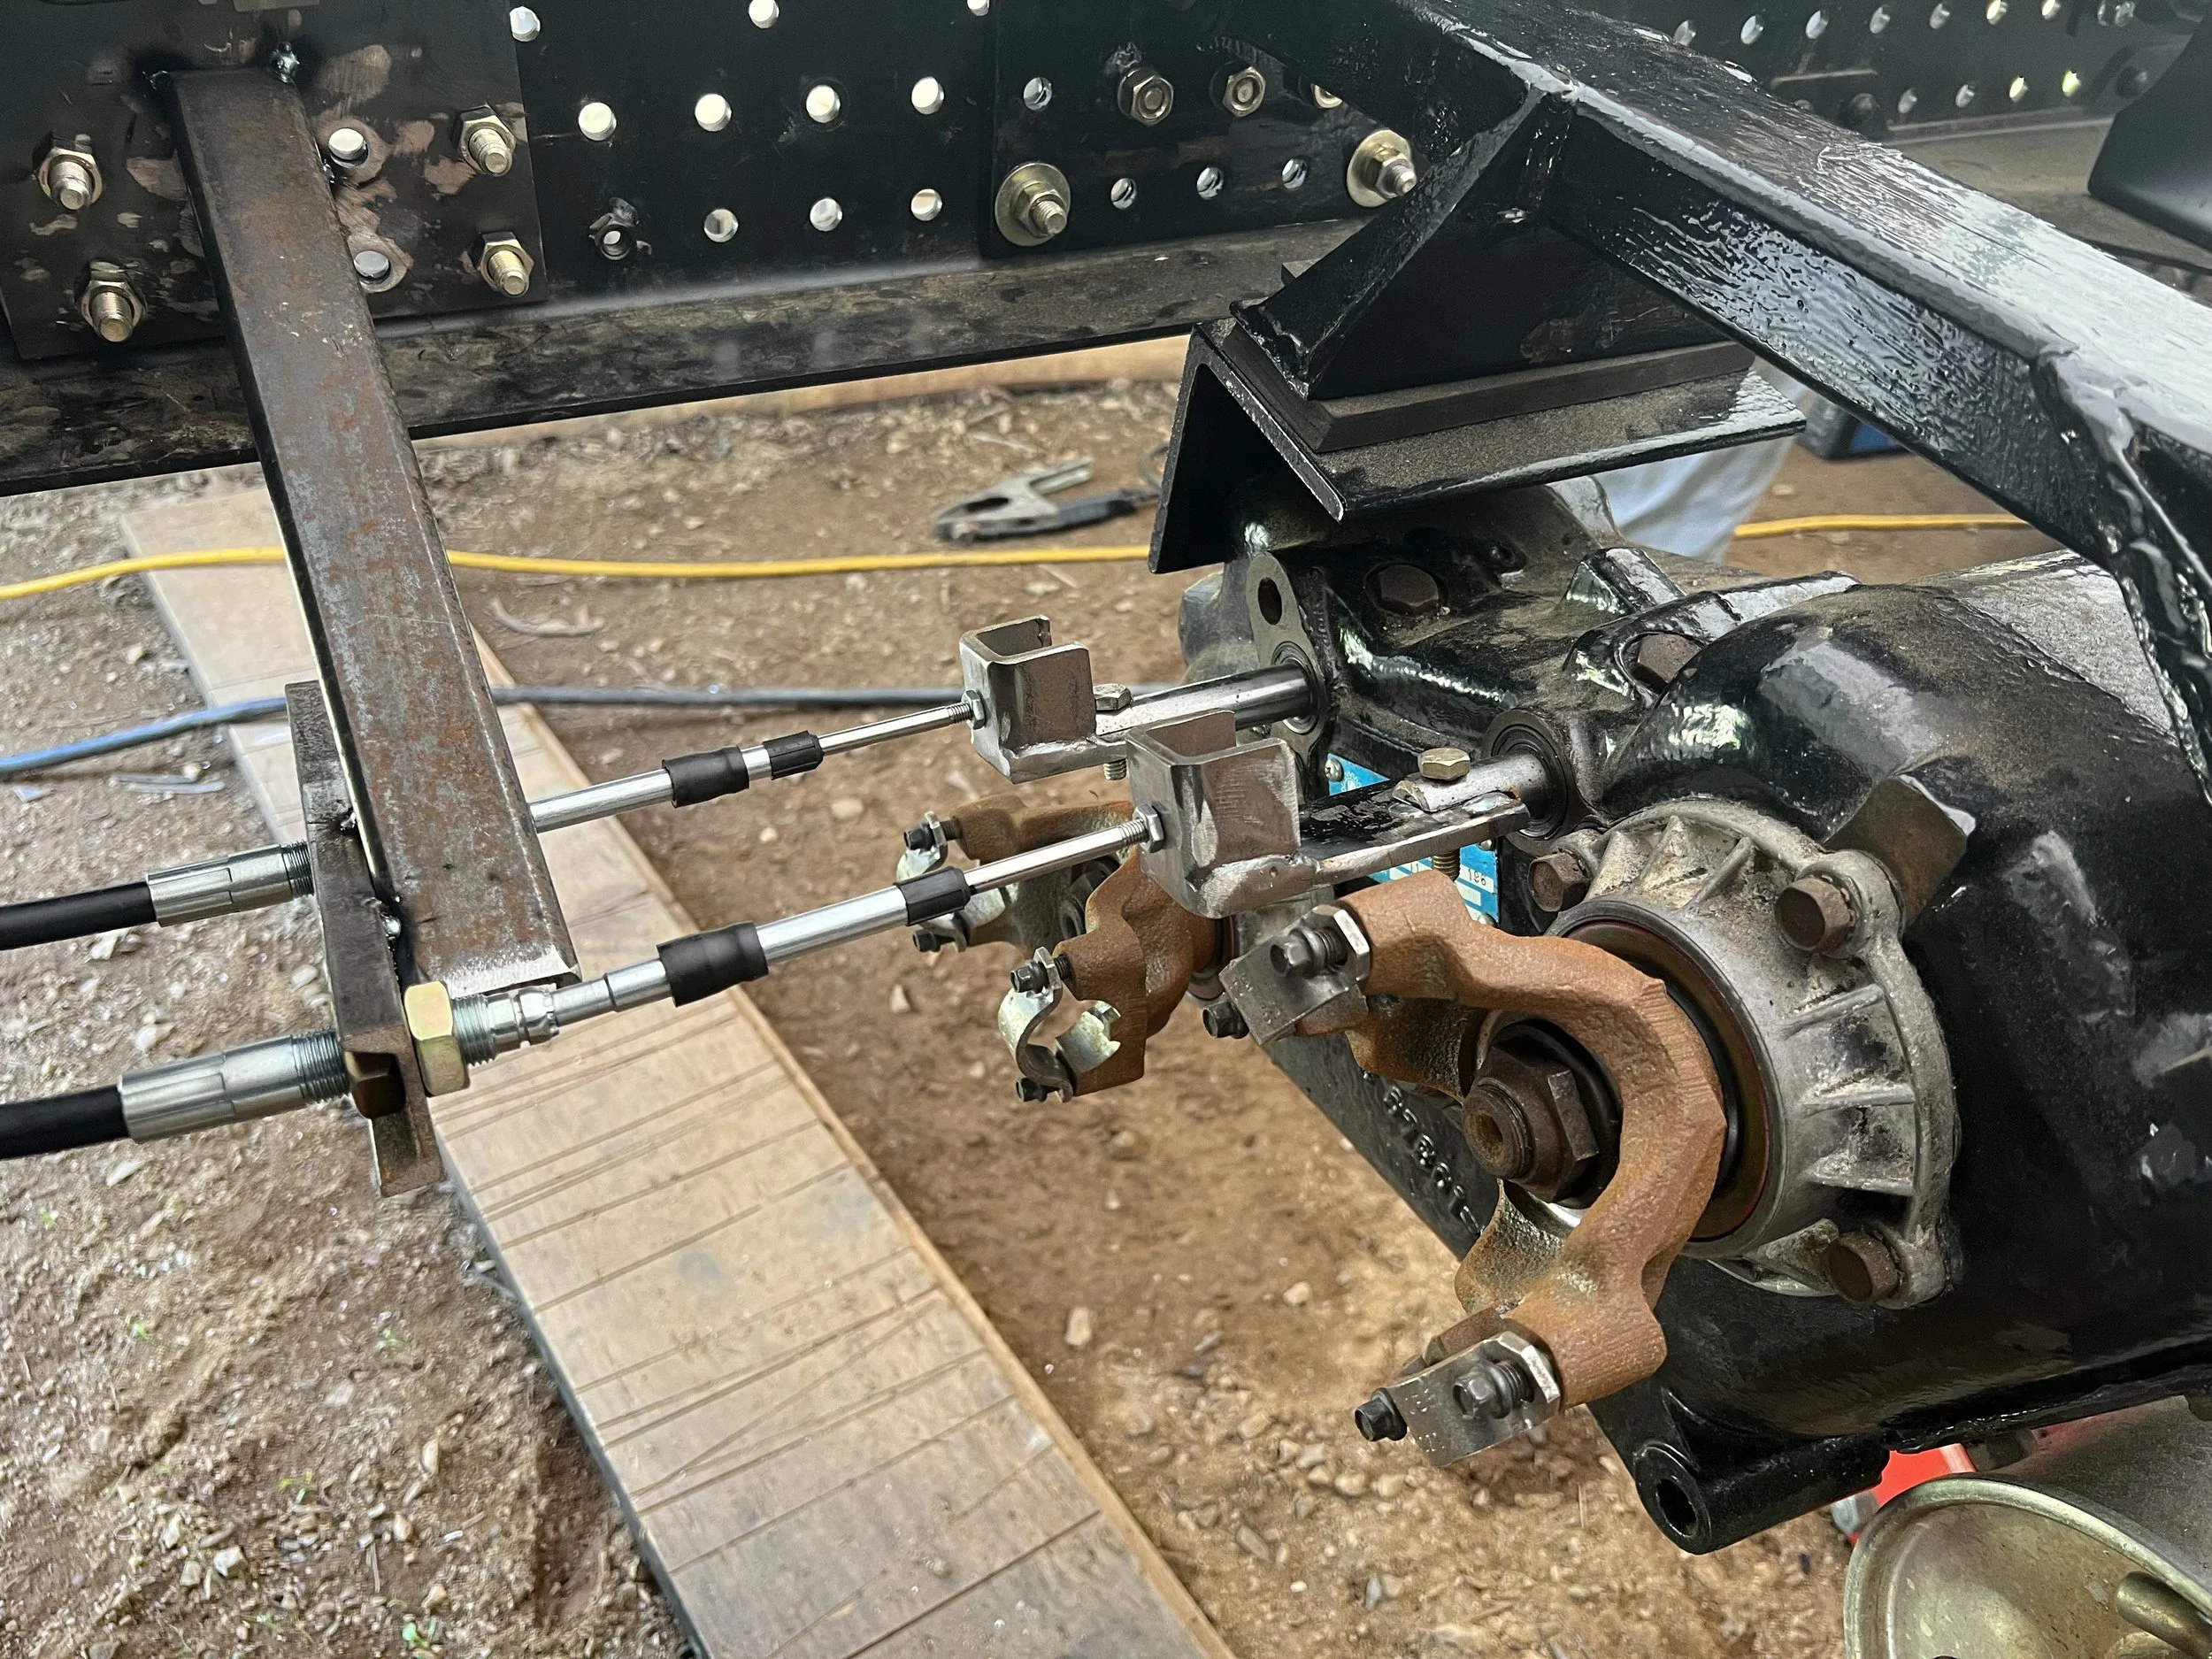
We chose 12-foot shift cables paired with a JB Fabrication twin stick shifter. The shifters are mounted between the driver and passenger seats, with the cables exiting the front of the cab, looping forward, and then running all the way back to a custom mount we fabricated on the frame rail.
The mounting system is designed so the cable housings remain fixed while the inner cables move freely. Each cable connects directly between its shifter lever and the corresponding shift rail on the transfer case — any movement at the shifter is immediately transferred to the NP205.
Making things look nice -
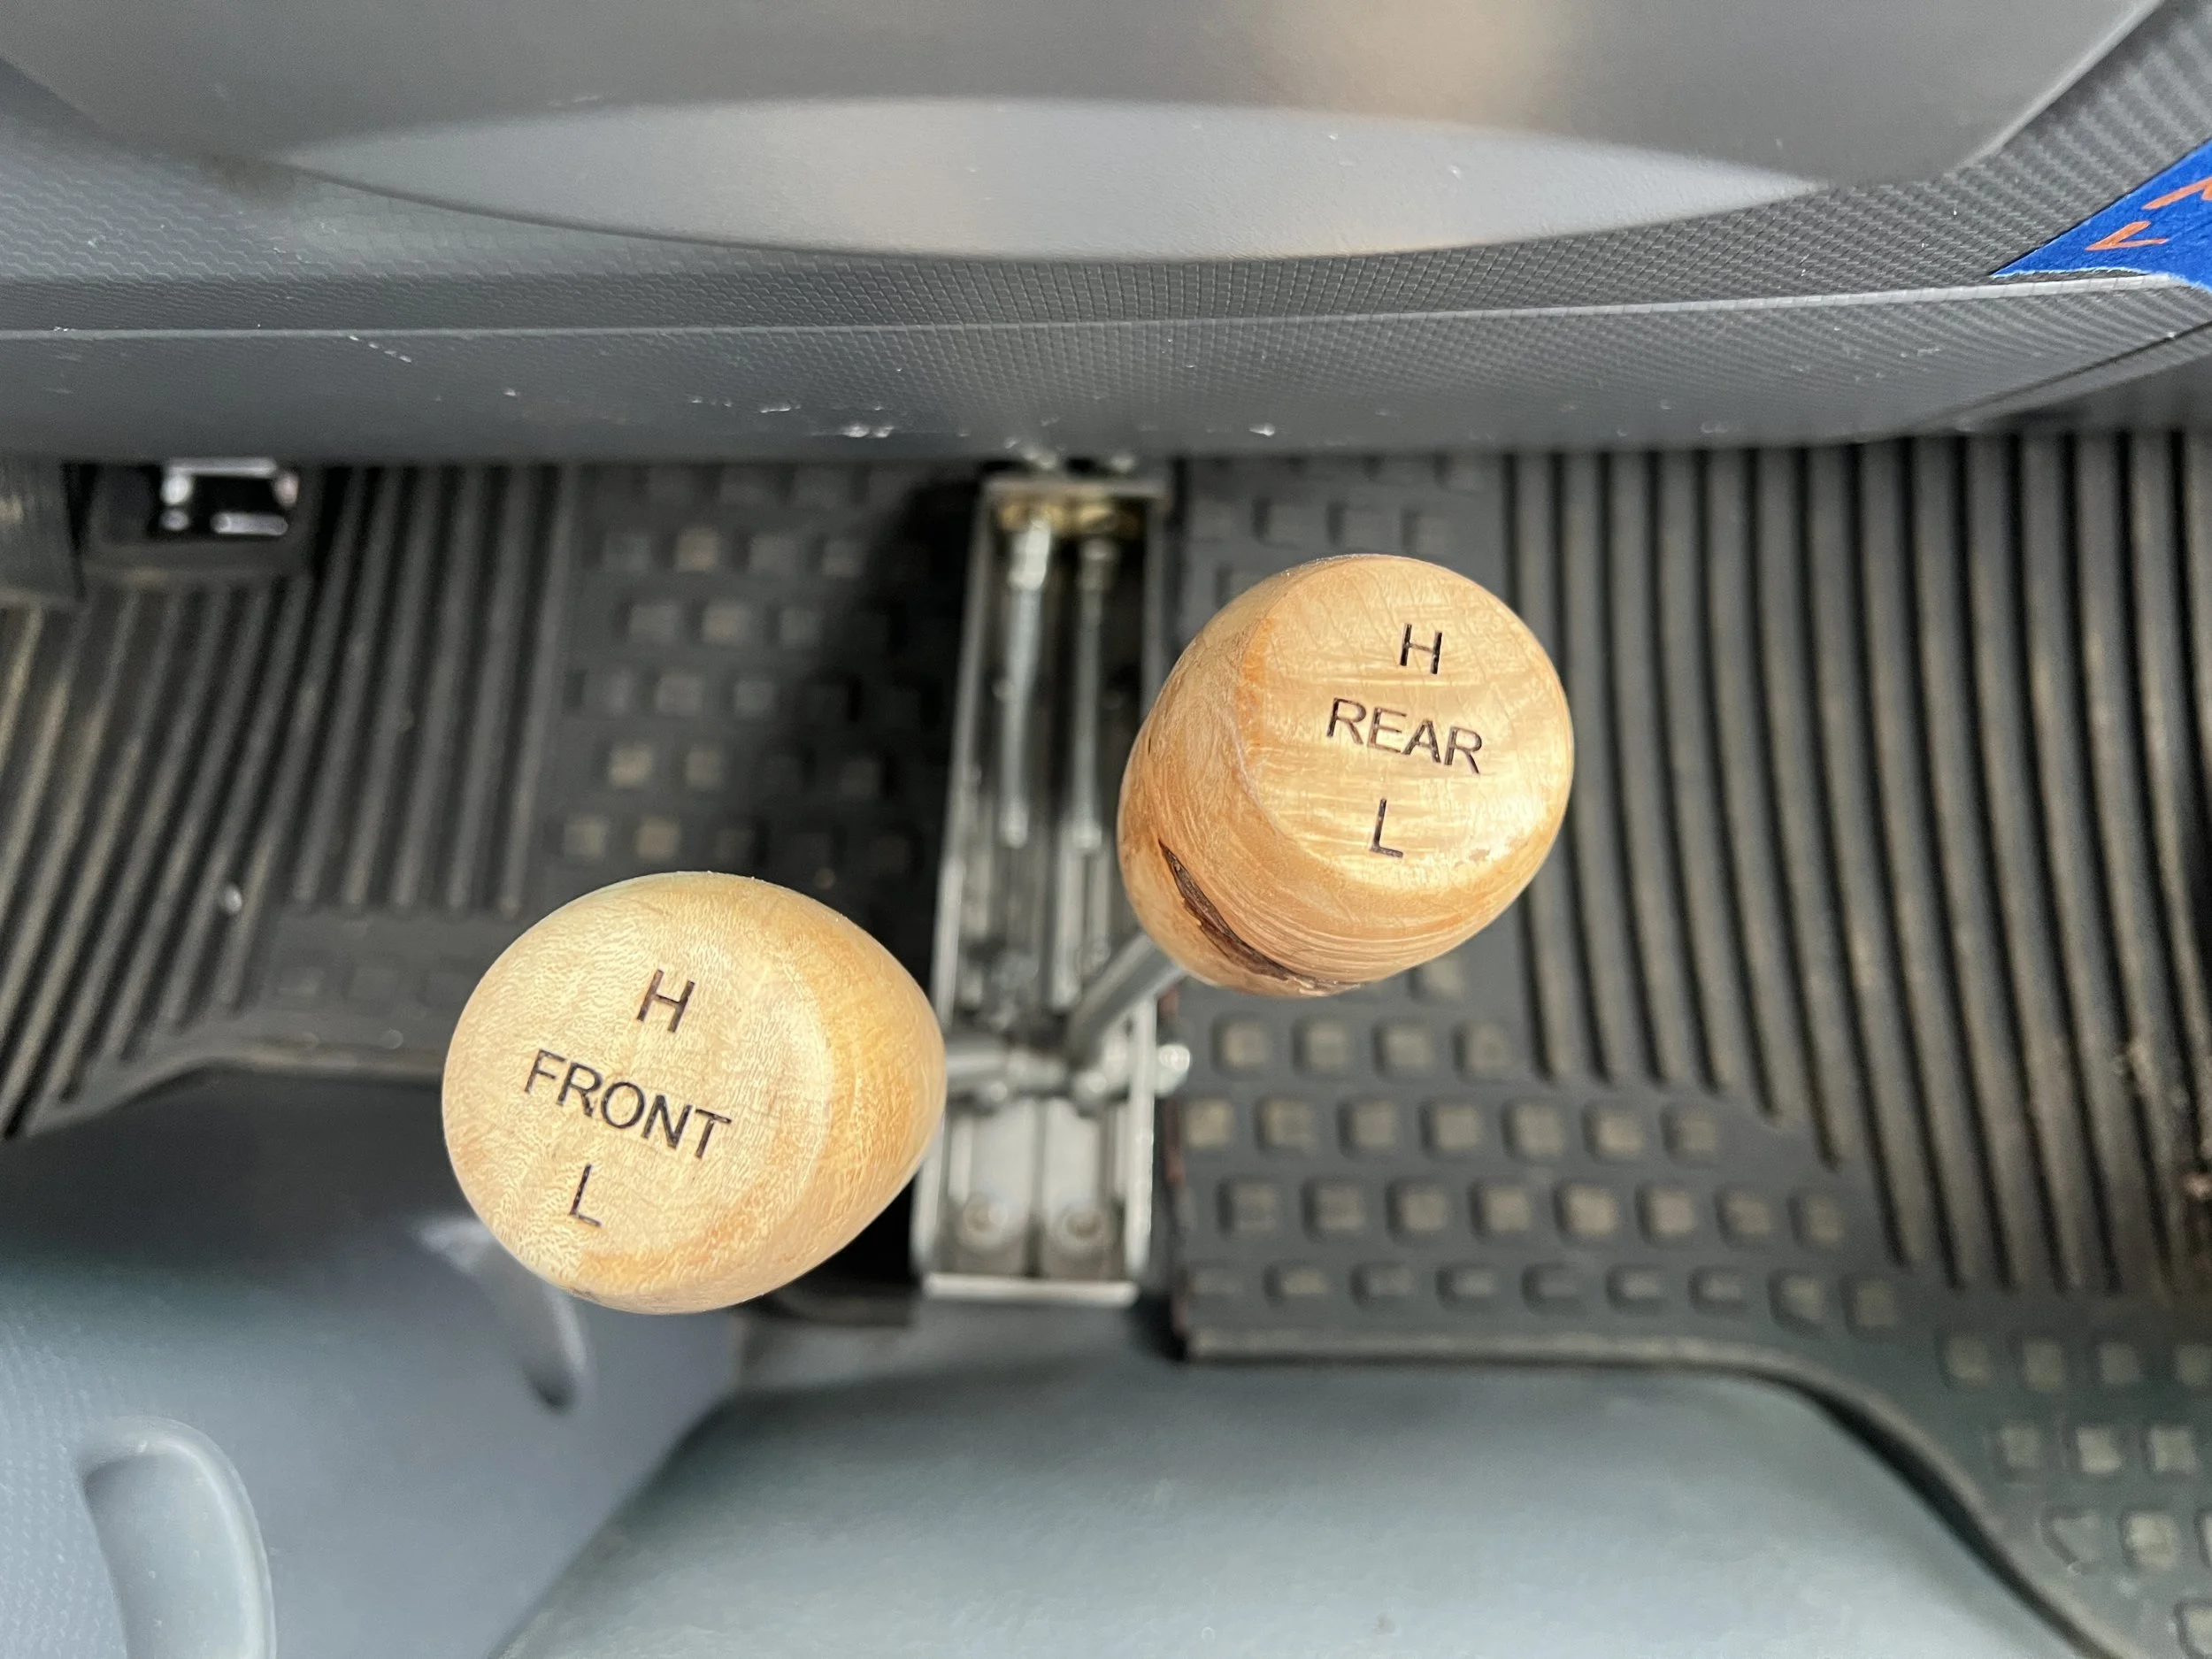
For a personal touch, we commissioned a woodworking friend to hand-turn custom shift knobs. The tops were laser-etched with our specific shift pattern for quick reference in the driver seat.
This cable-shift twin stick setup fits the overall theme of our truck build: straightforward, reliable, field-serviceable, and easy to bypass if necessary. It gives us precise control over the NP205, allows independent operation of the front and rear outputs, and eliminates the slop and complexity of a long mechanical linkage.